DIY – Apple Cider Stand
If you follow along here on this little ole blog of mine, you may recall me blogging about wanting to host an apple cider stand on my Fall Bucket List.
Want to know something? I had Jon assemble this stand mooooonths ago. I was hoping we’d have a lemonade stand, but…you know…life has a way of happening and then BOOM!
It’s the middle of October.
Wowza!
I did, however, want to get this stand assembled because the kids and the neighbor kids absolutely love hosting hot cocoa stands and lemonade stands…so why not an apple cider stand?!

This sweet stand was super easy to put together!
First up, we took these goofballs to Home Depot to pick up all the supplies…
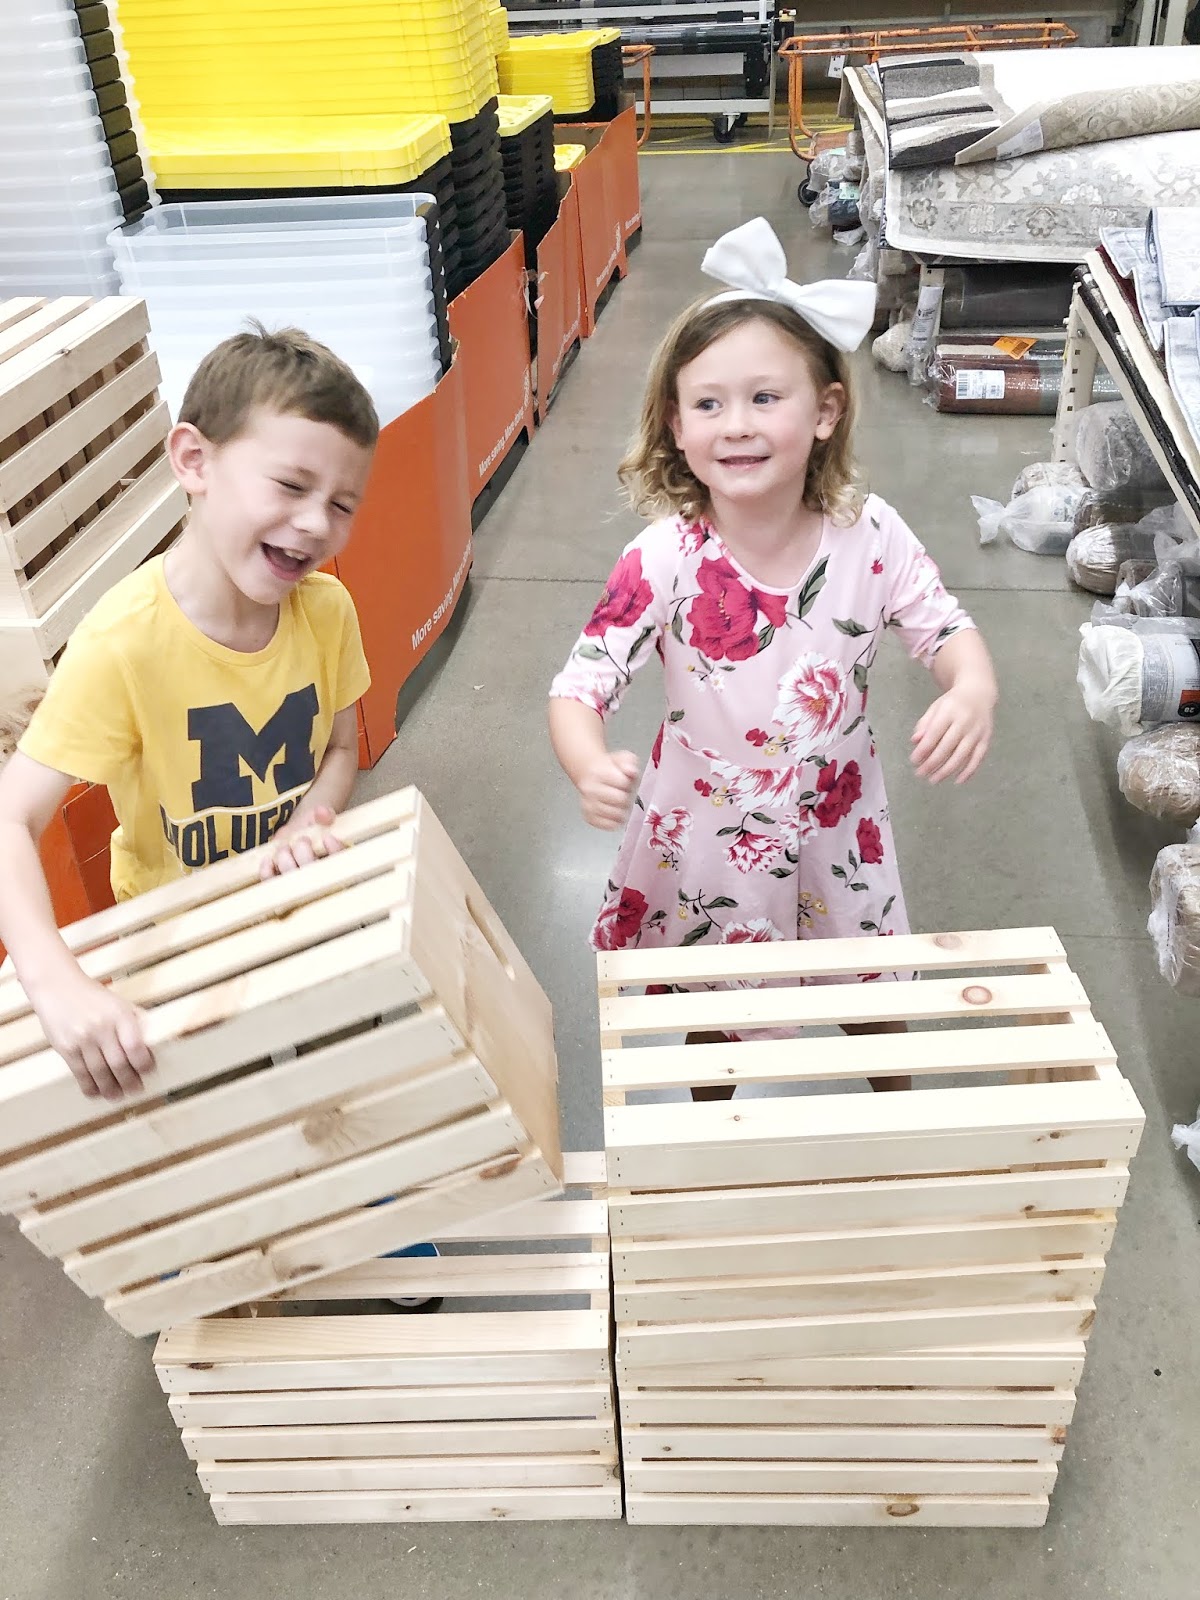


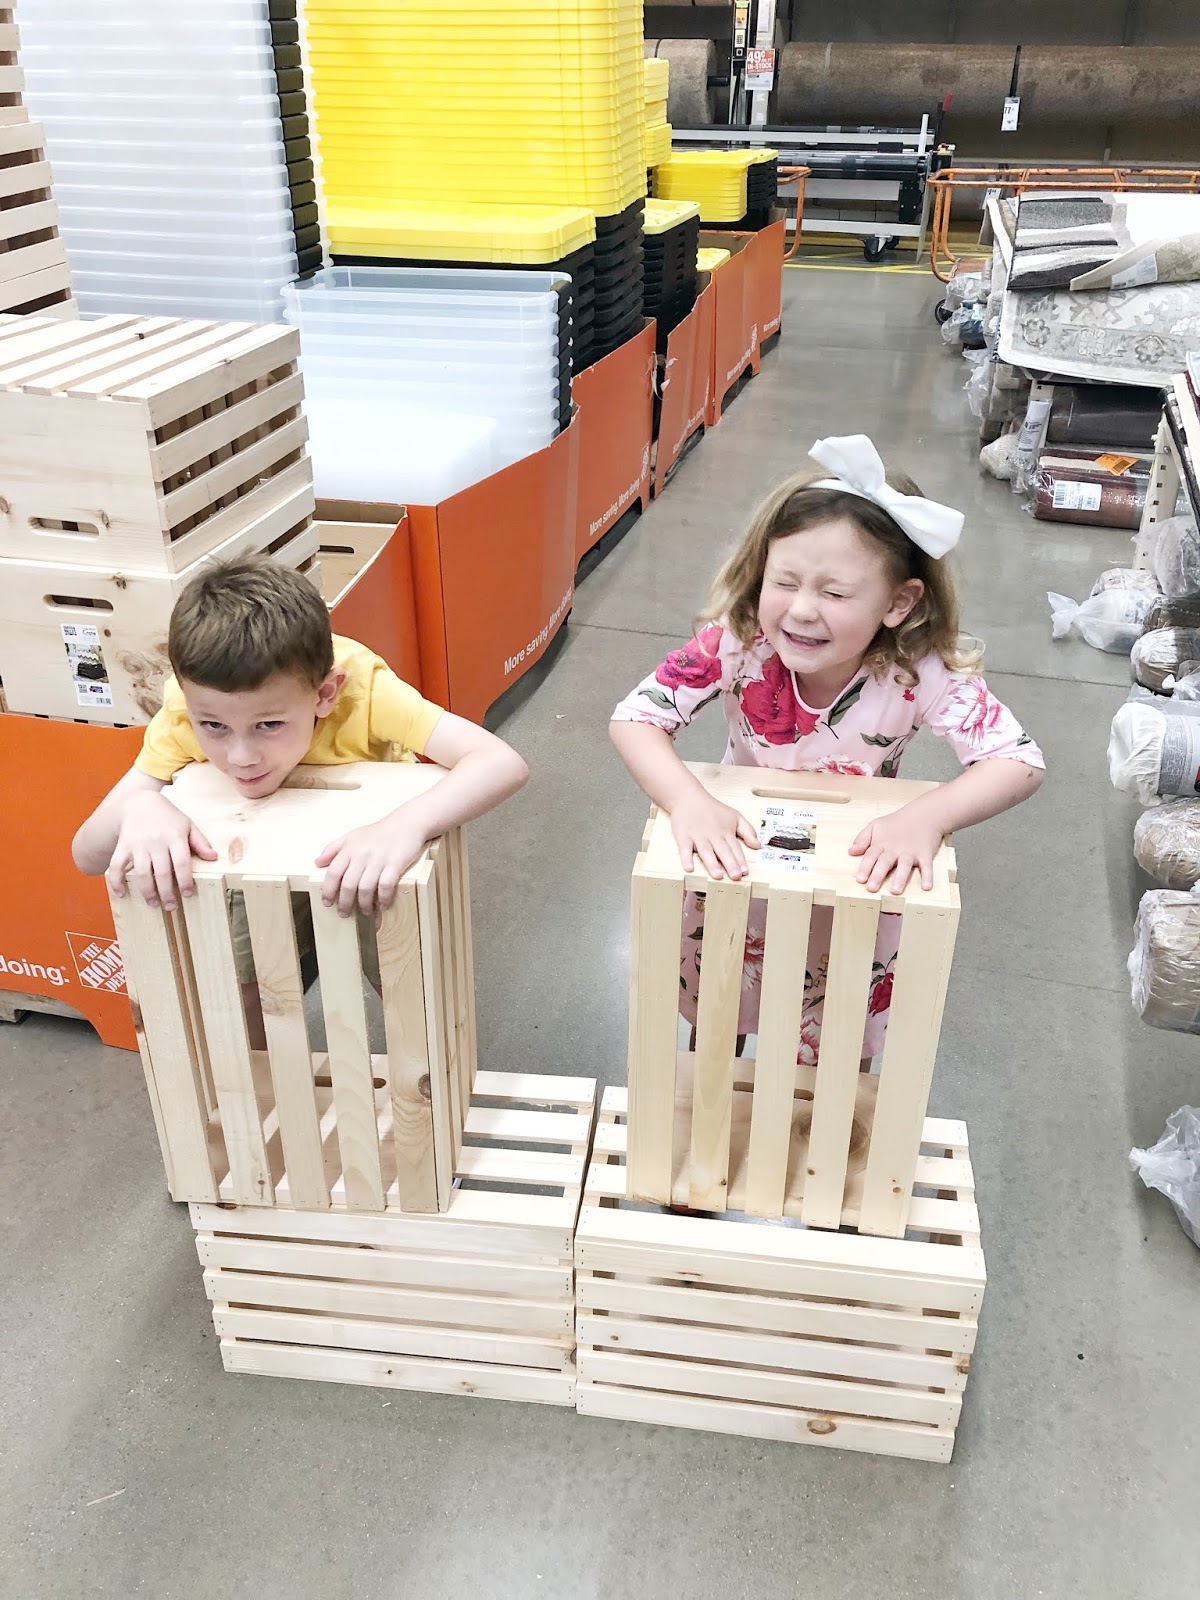
Okay, so I’m guessing you can tell what your first purchase ought to be! Haha! You’ll need four of these crates…kids not included. 😉 If you’d like to save a trip to the store, I found some crates you can purchase over on Amazon.
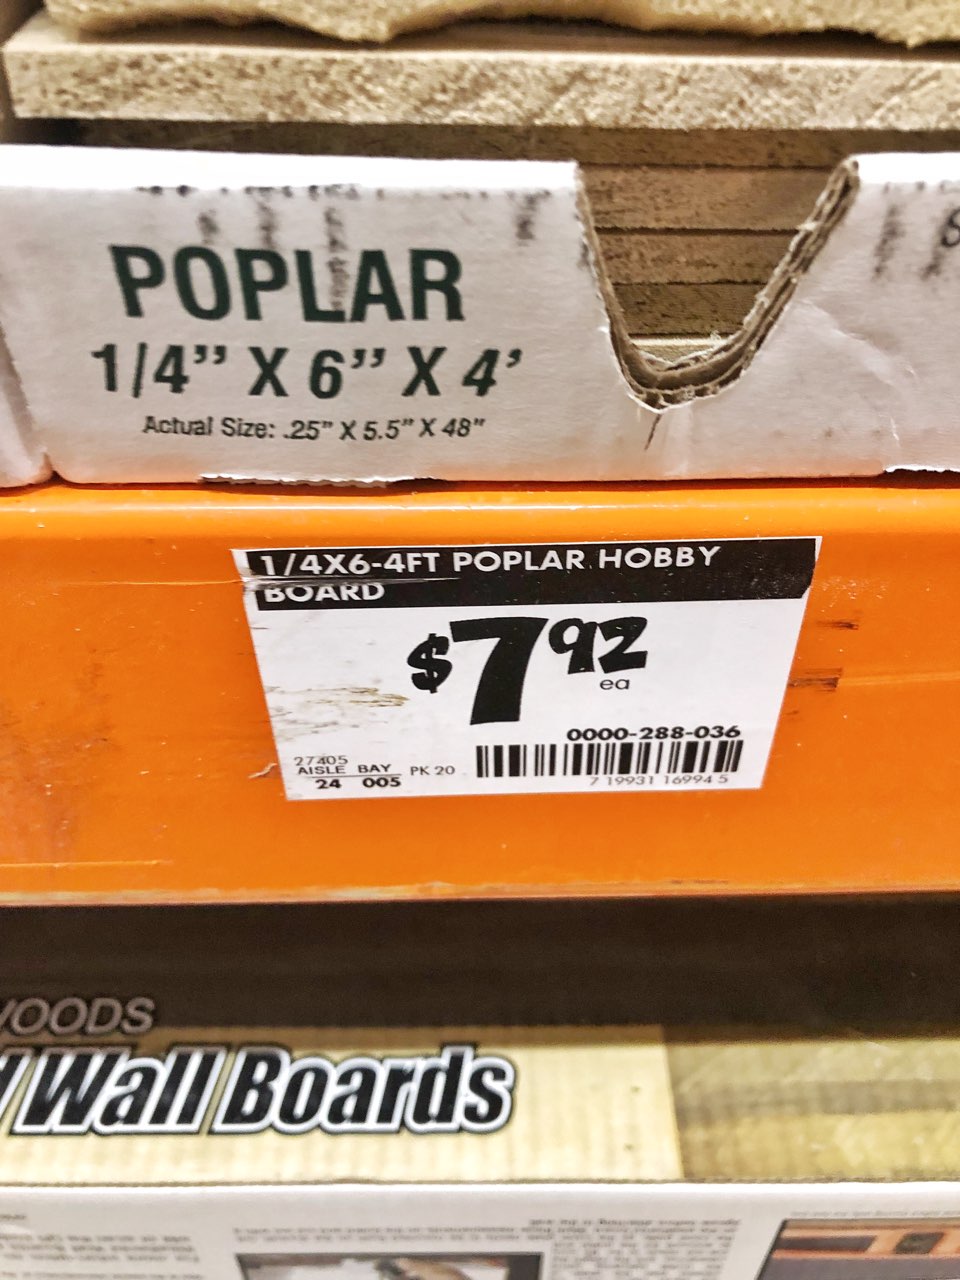
You’ll need one lightweight piece of wood for the horizontal “sign” at the top of the stand. We went with a 4×6 piece of poplar hobby board.
Next, you’ll need two pieces of sturdy wood for the “base” and for the “countertop” of the unit. We purchased these 3 foot long pieces of shelf wood (BTW – I have no idea how to adequately explain all of these pieces of wood, I was just buying what looked and felt right – hence all the pictures of stickers. LOL!)

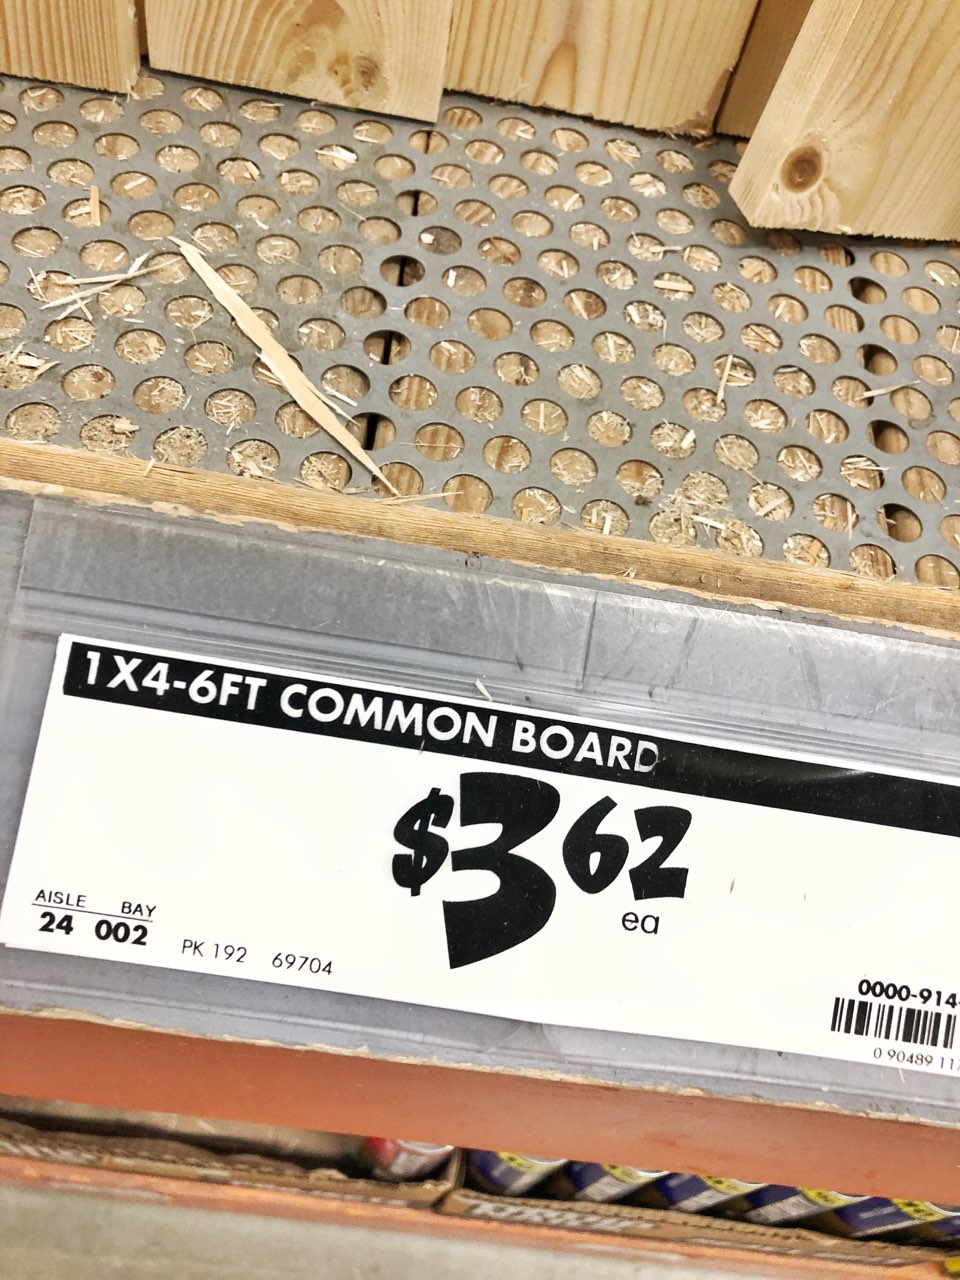
You’ll also need two pieces of wood for the sides of the stand. We bought these 4×6 pieces of common board, but once home I had Jon trim these down a little bit. You’ll see what I mean in just a sec…
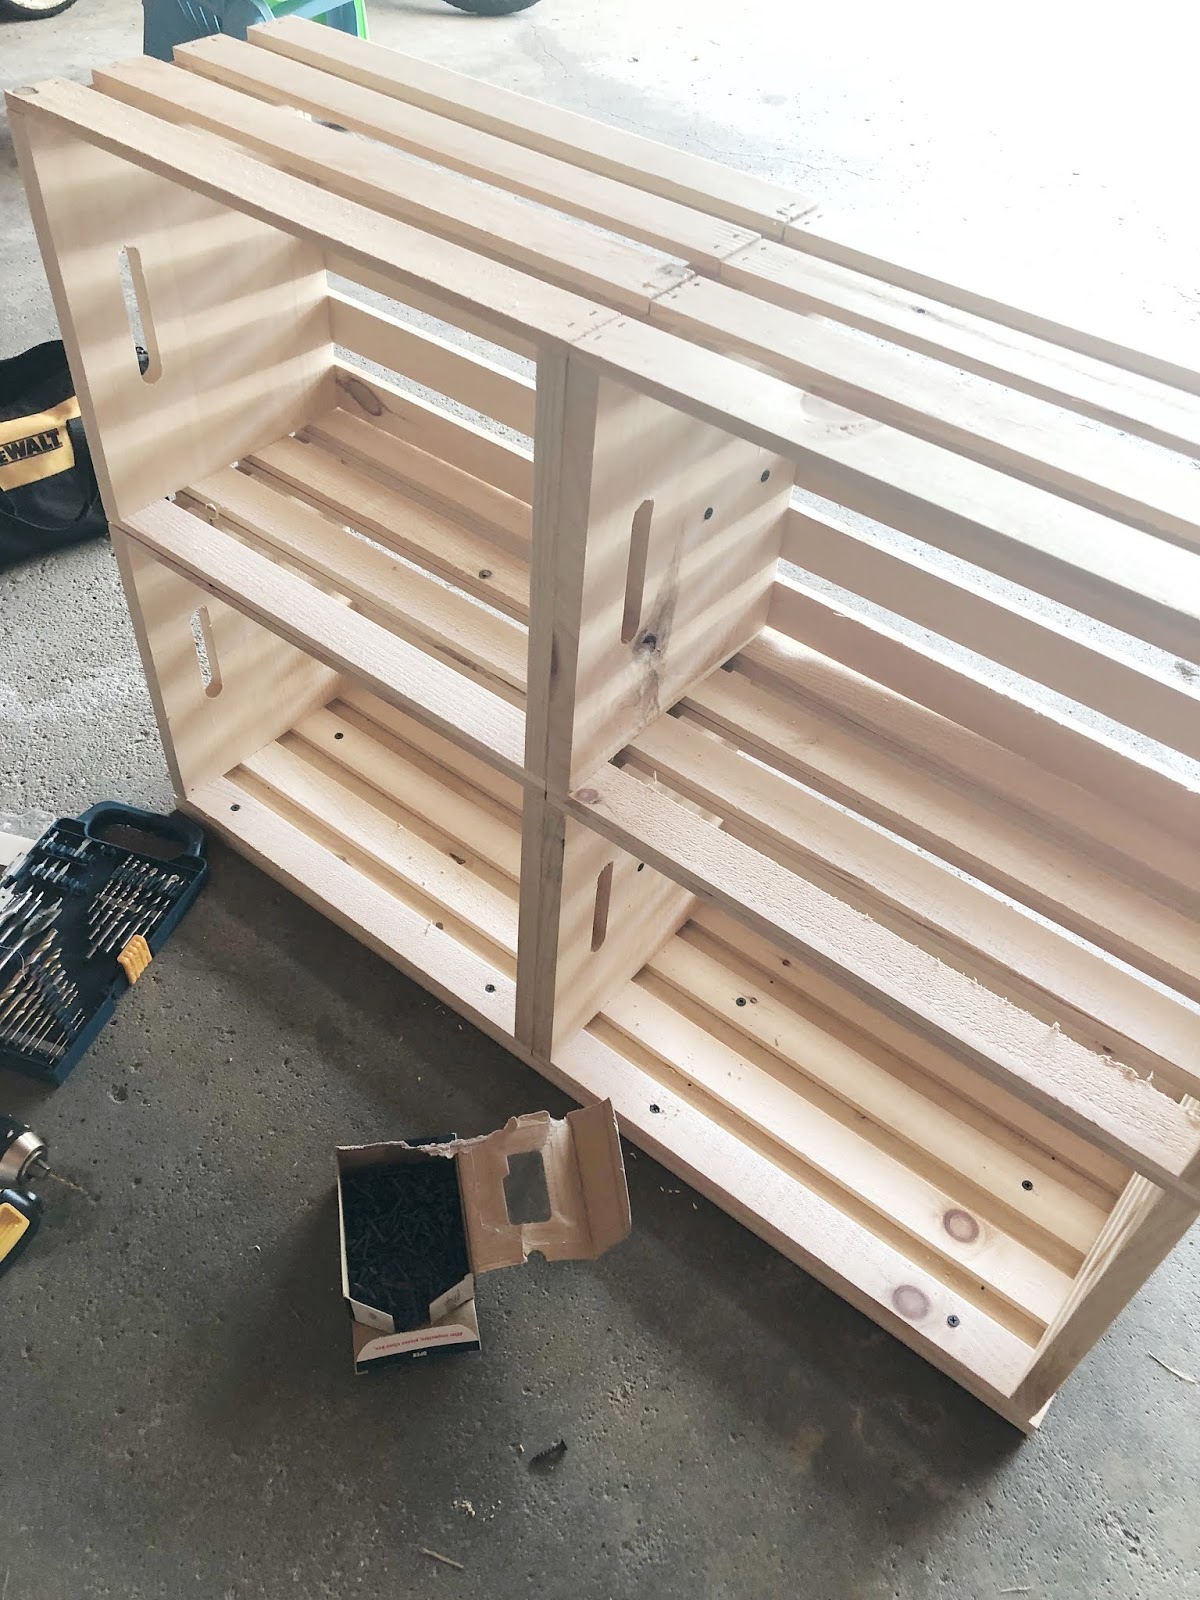
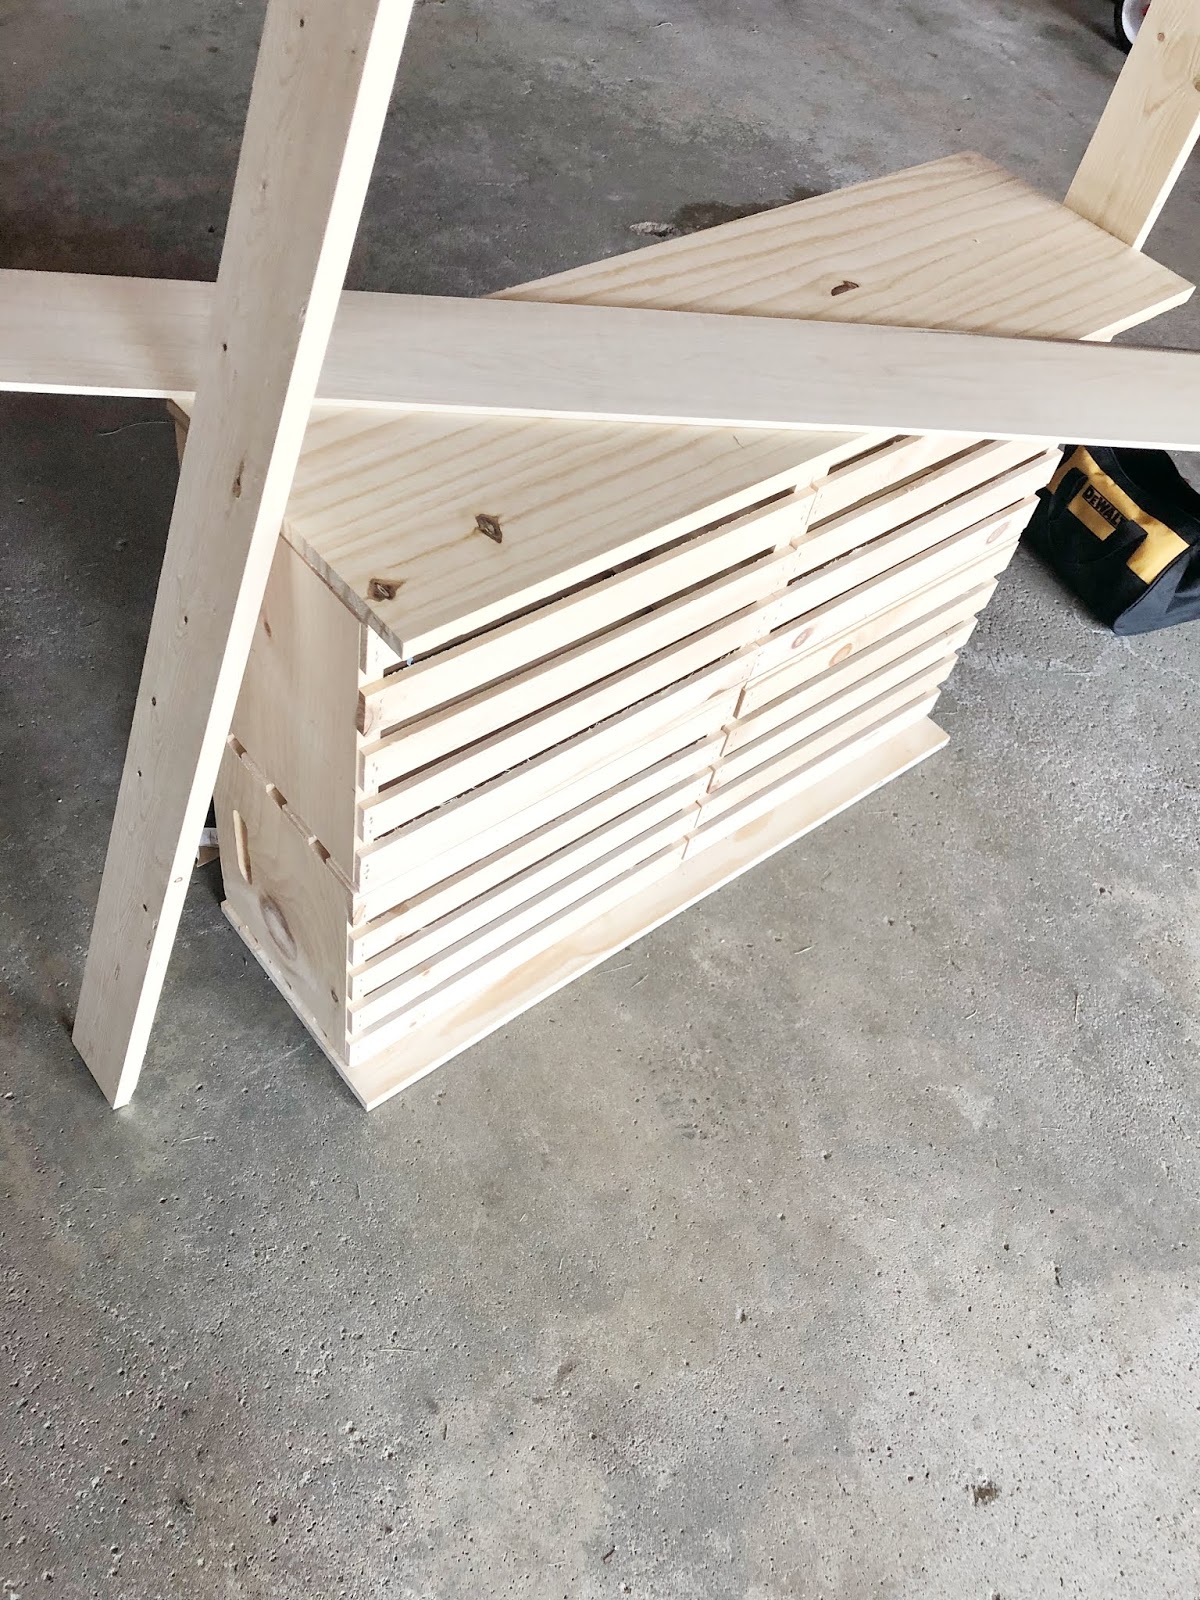
Once home, Jon got to work assembling the crates.
We first arranged the crates to match up and then Jon screwed the TOP two crates together and then he screwed the BOTTOM two crates together. We also added a 2X3 piece of wood to the bottom of the stand.
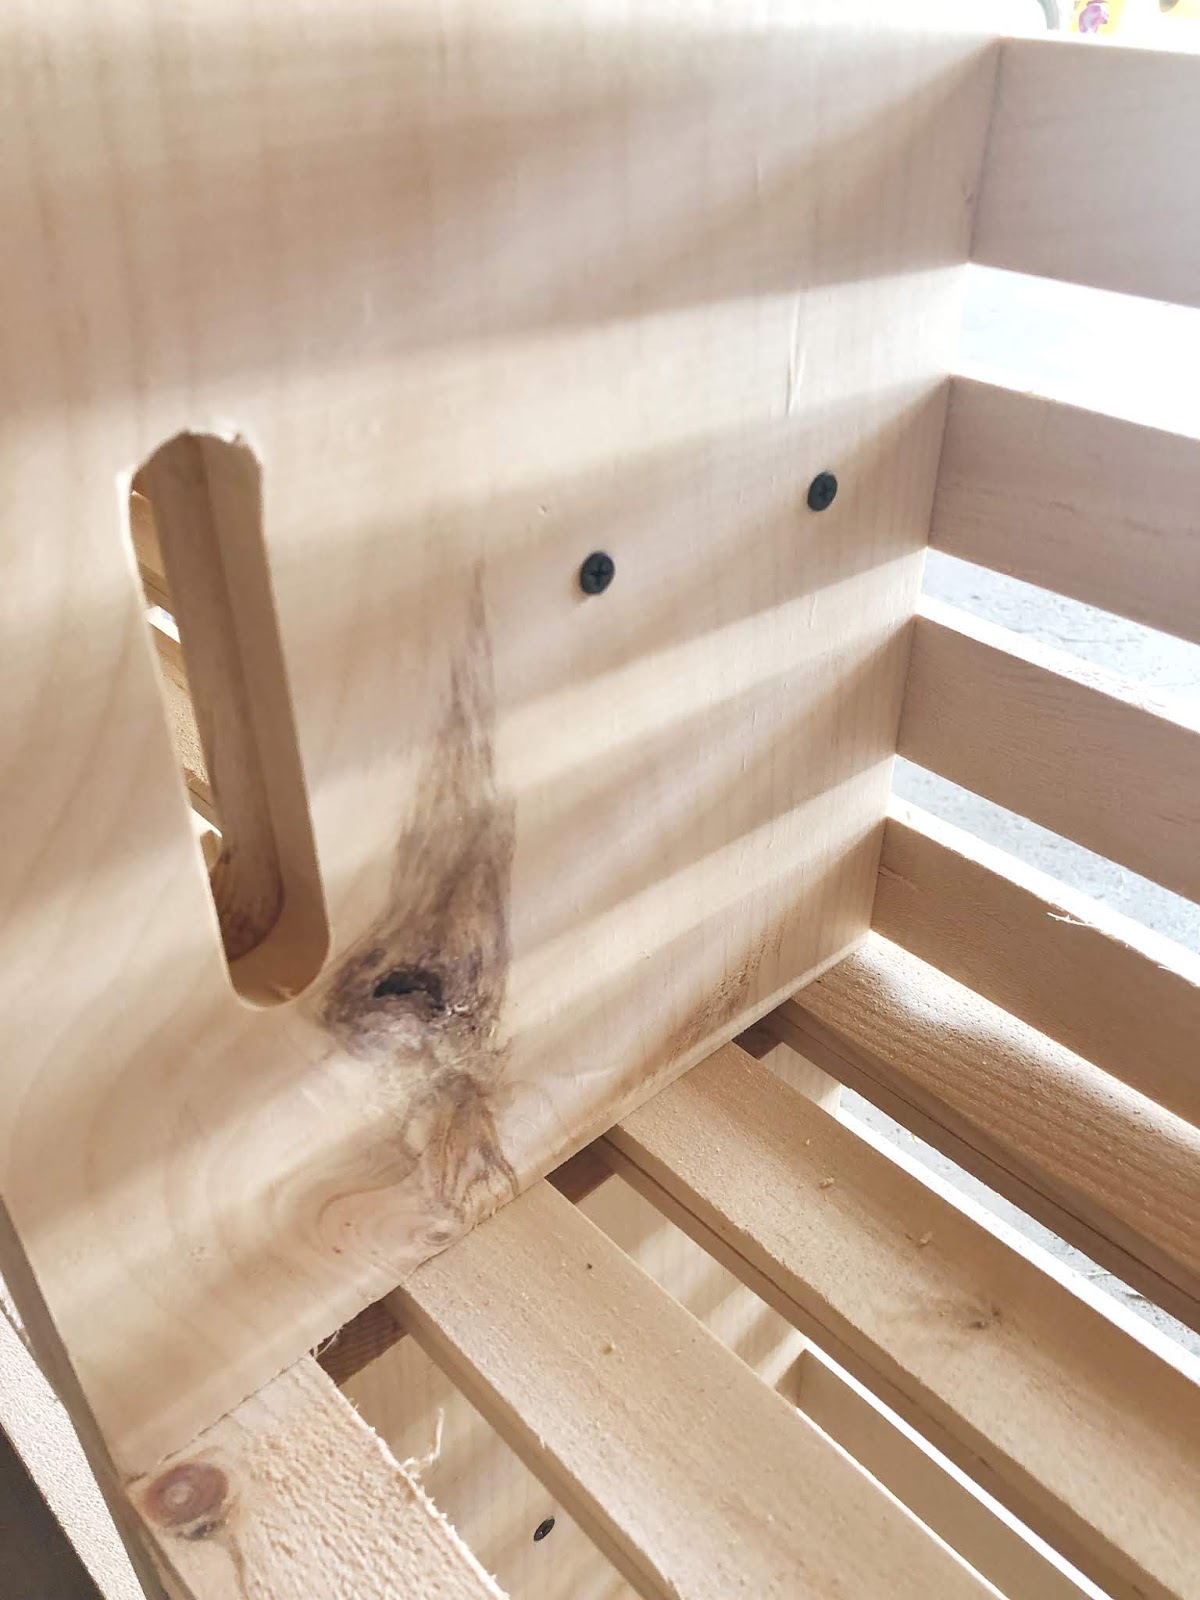
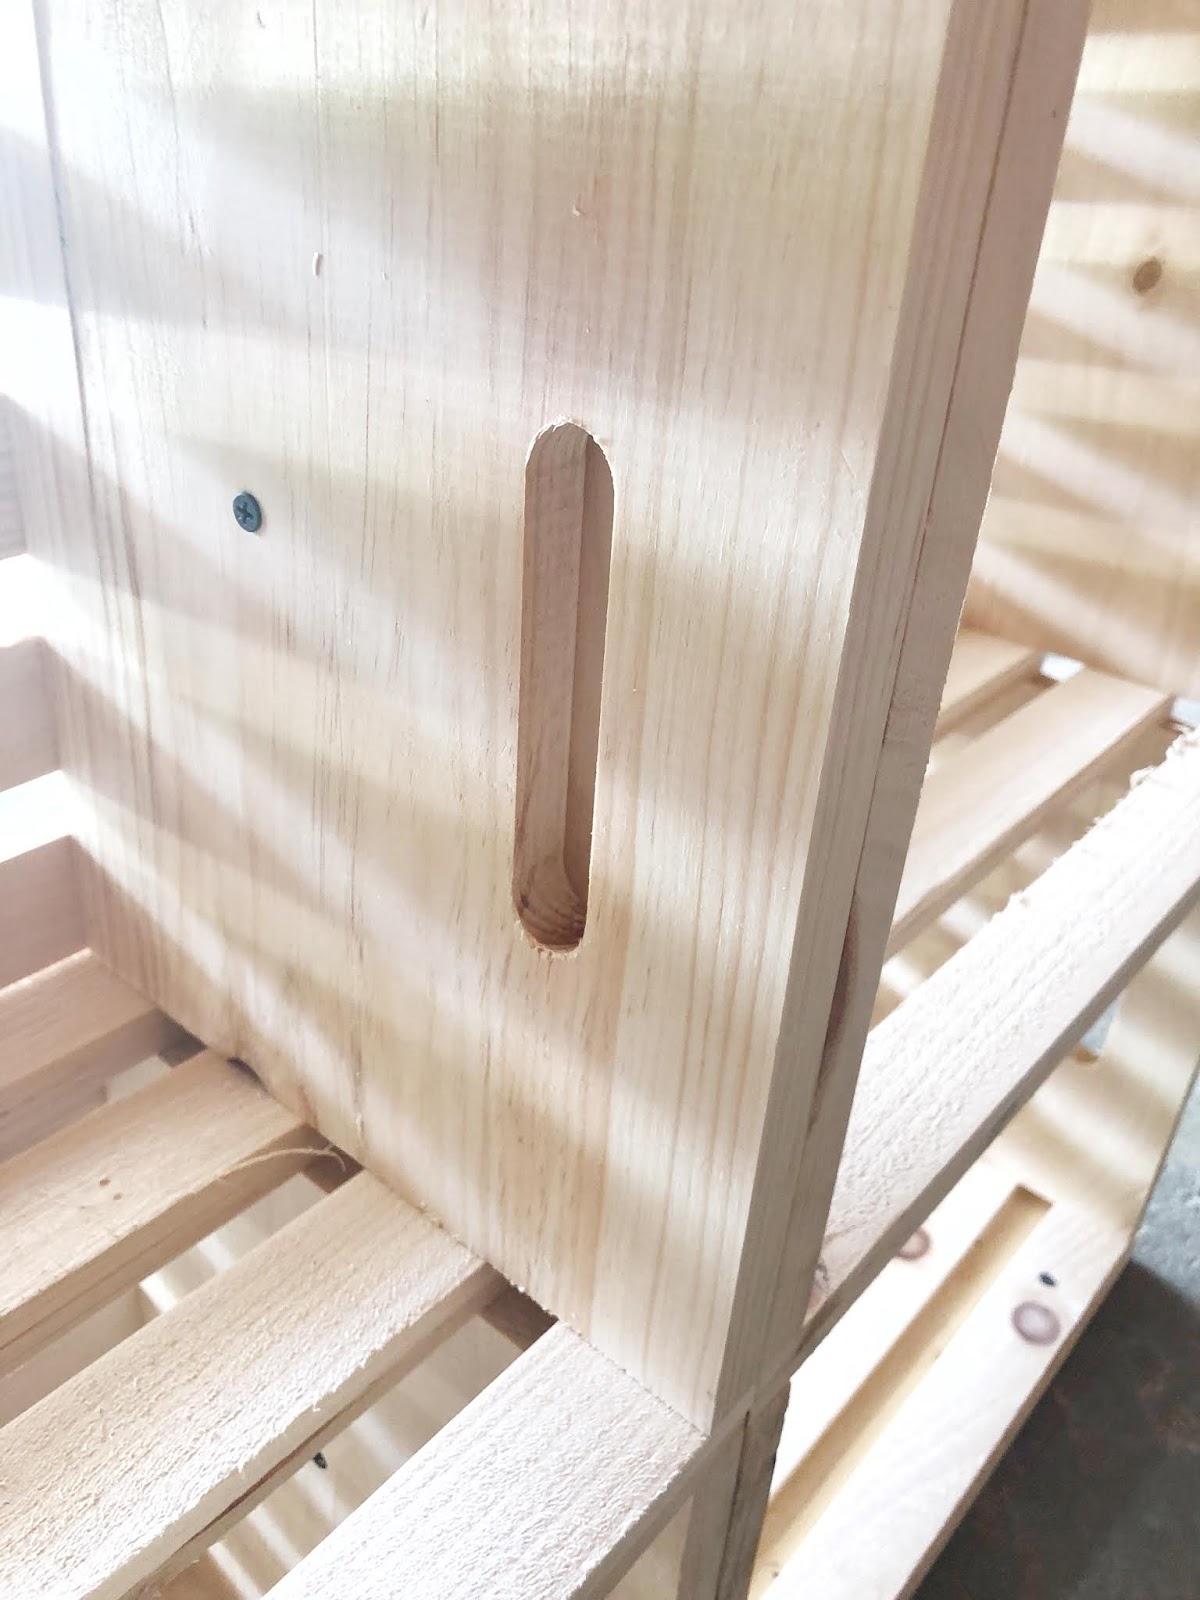
How and where the crates were screwed together…


Next up, we took the top two nailed together crates off of the bottom ones and used Liquid Nails to ensure its stability.
You can also see in this picture how we screwed on the bottom “base” of the unit. We left a little lip in the front so the kids wouldn’t trip on the back of the stand.

In the background you can see that we added the top crates to the bottom crates. After applying Liquid Nails, we then screwed the assembled (top and bottom) crates together.

The “countertop” also screwed into the crates. We made sure to match it up with the “base” of the unit.
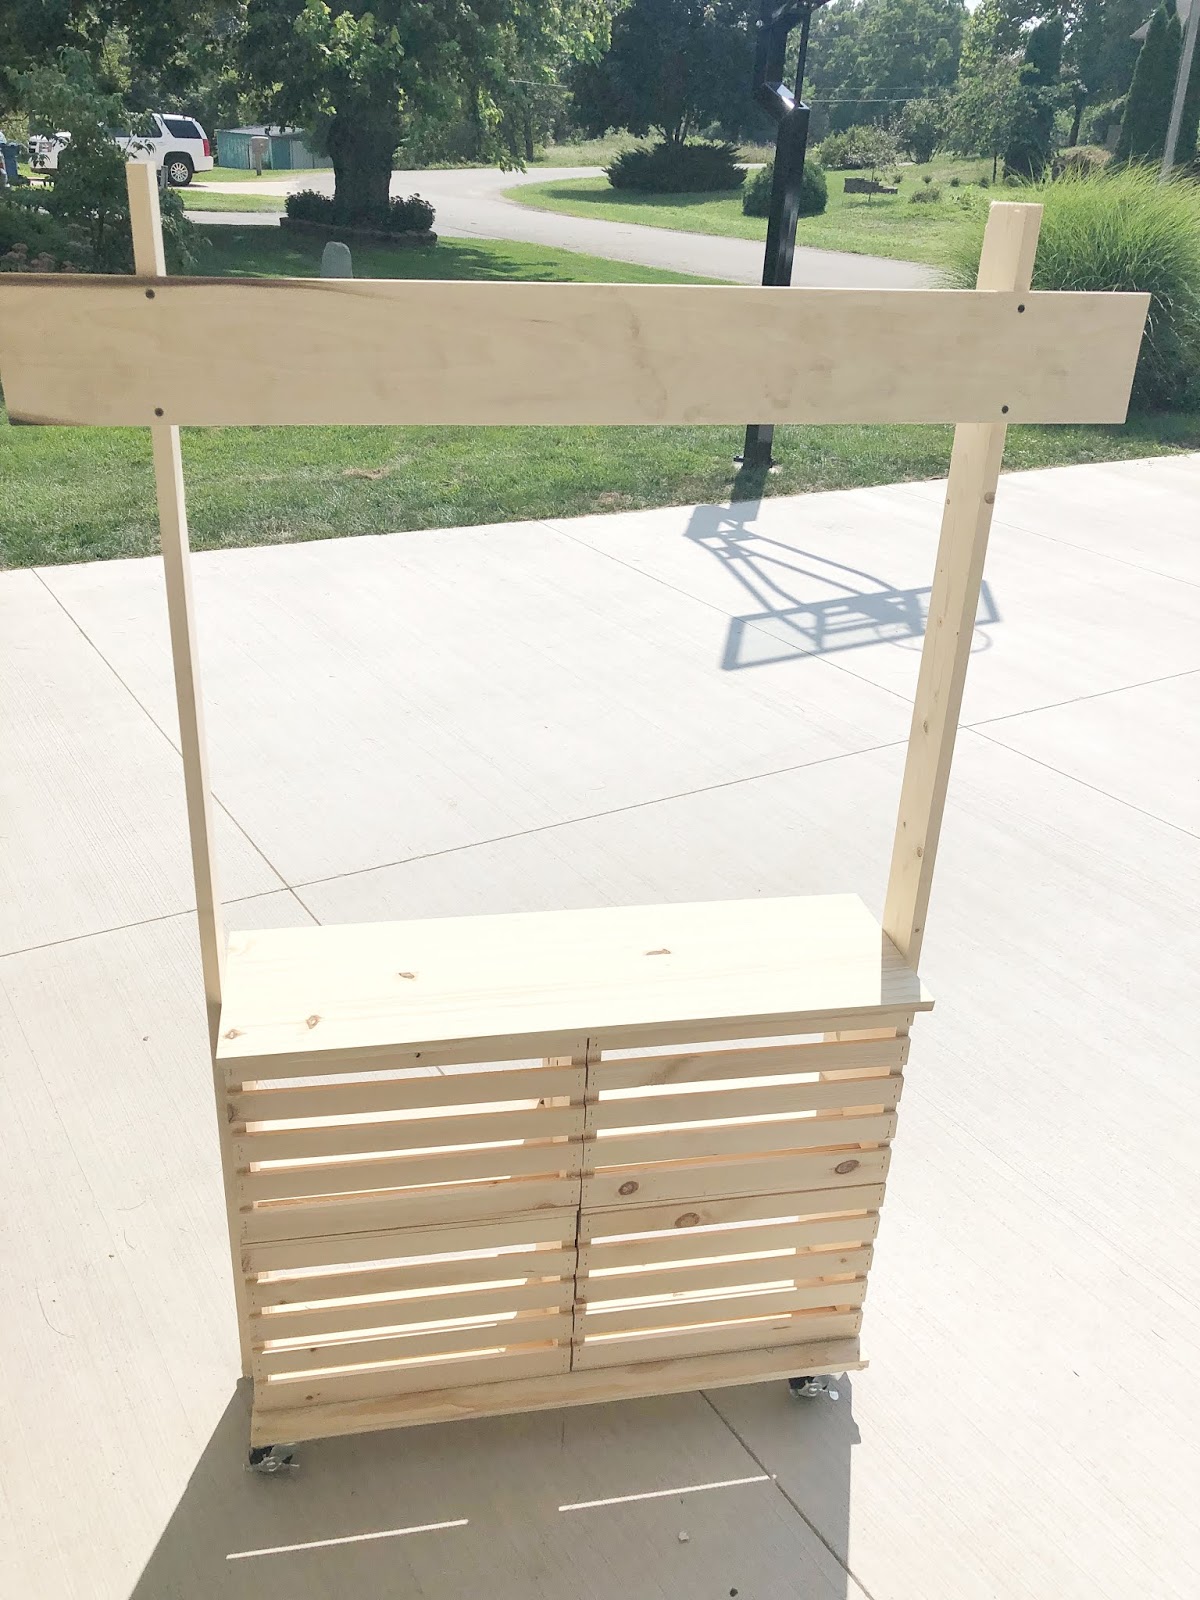
We then got to work on assembling the 4×6 common boards to the sides of the stand. I thought they were a little tall, so I had Jon trim them down about 5 inches or so. Once they were at my desired height, they were then screwed into the sides of the unit.
Next up, we placed the stand on its “back/front” and added some swivel wheels.
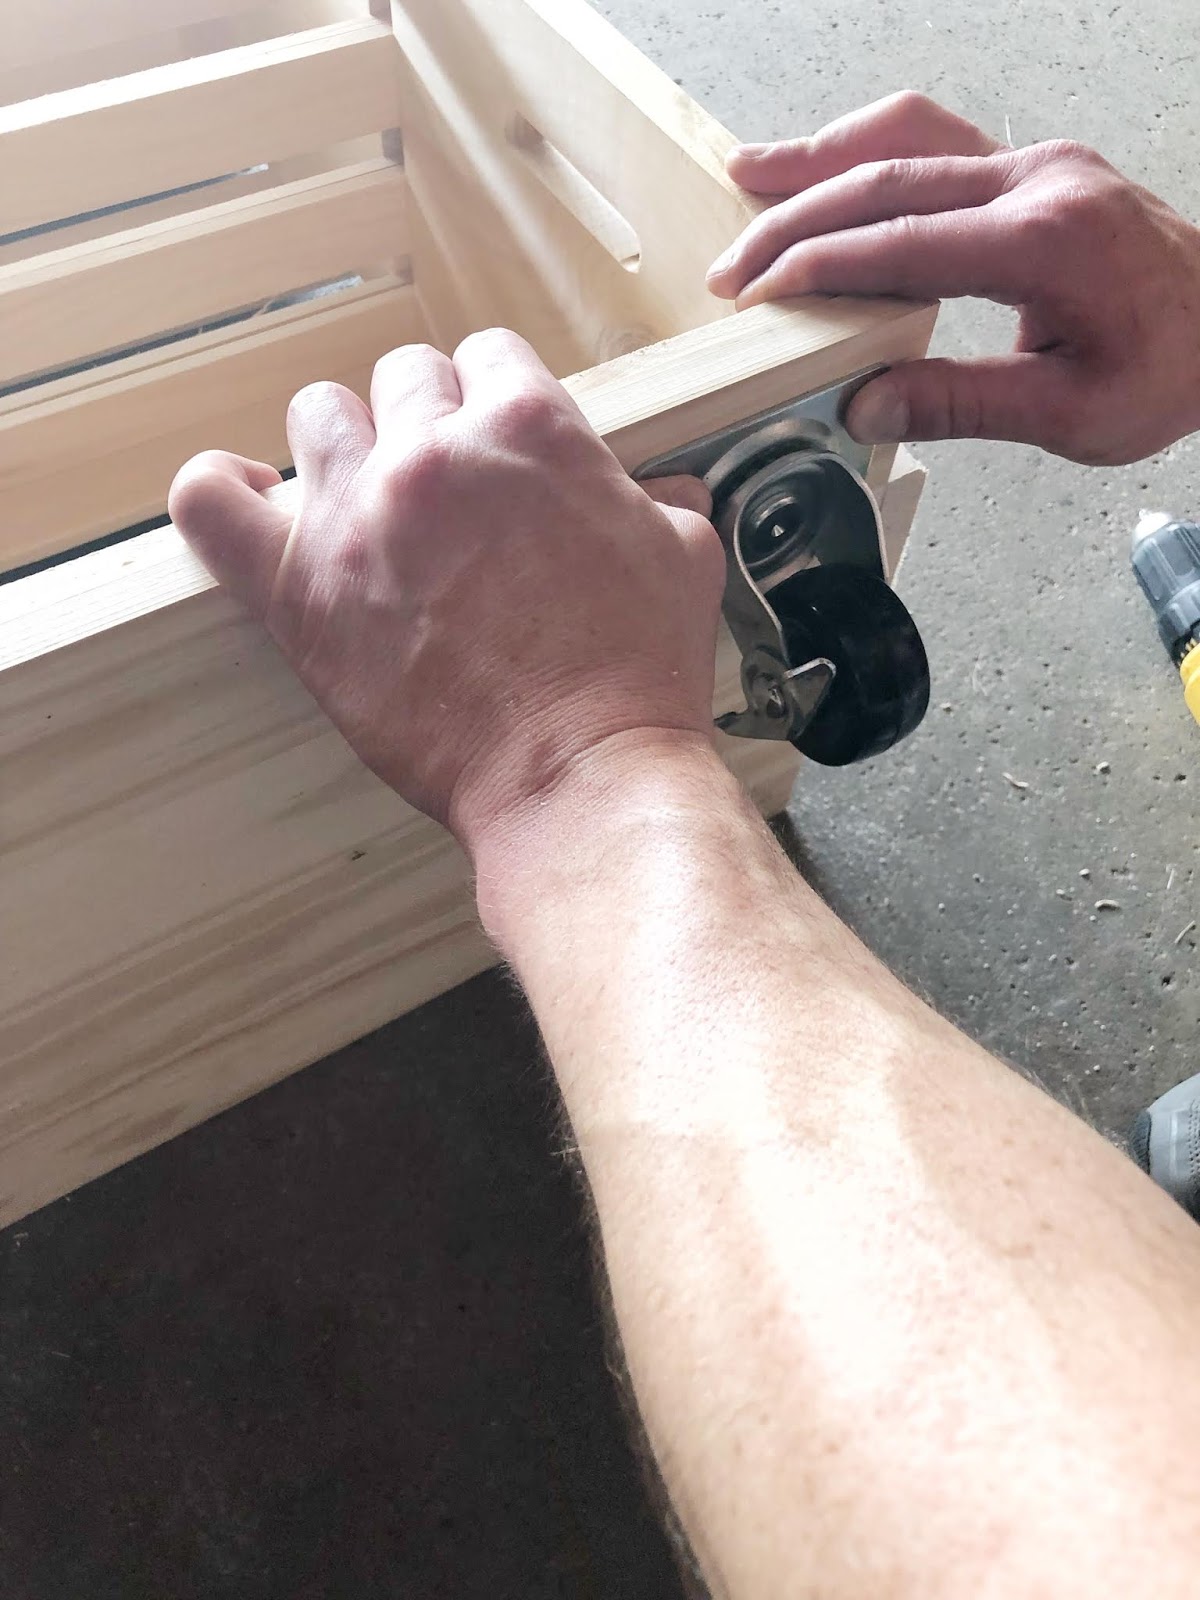
Once the wheels were assembled, we stood the unit up and added the horizontal piece of wood to the top of it. This fun feature has so much to offer. It can be painted with chalk paint, a banner can be hung or the entire unit can be painted! The sky’s the limit! We left ours plain for now, but I’m sure by next summer we’ll be painting it with the neighbor boys next door!
VOILA!
An apple cider/hot cocoa stand/lemonade stand!!!
A stand for all seasons!!!
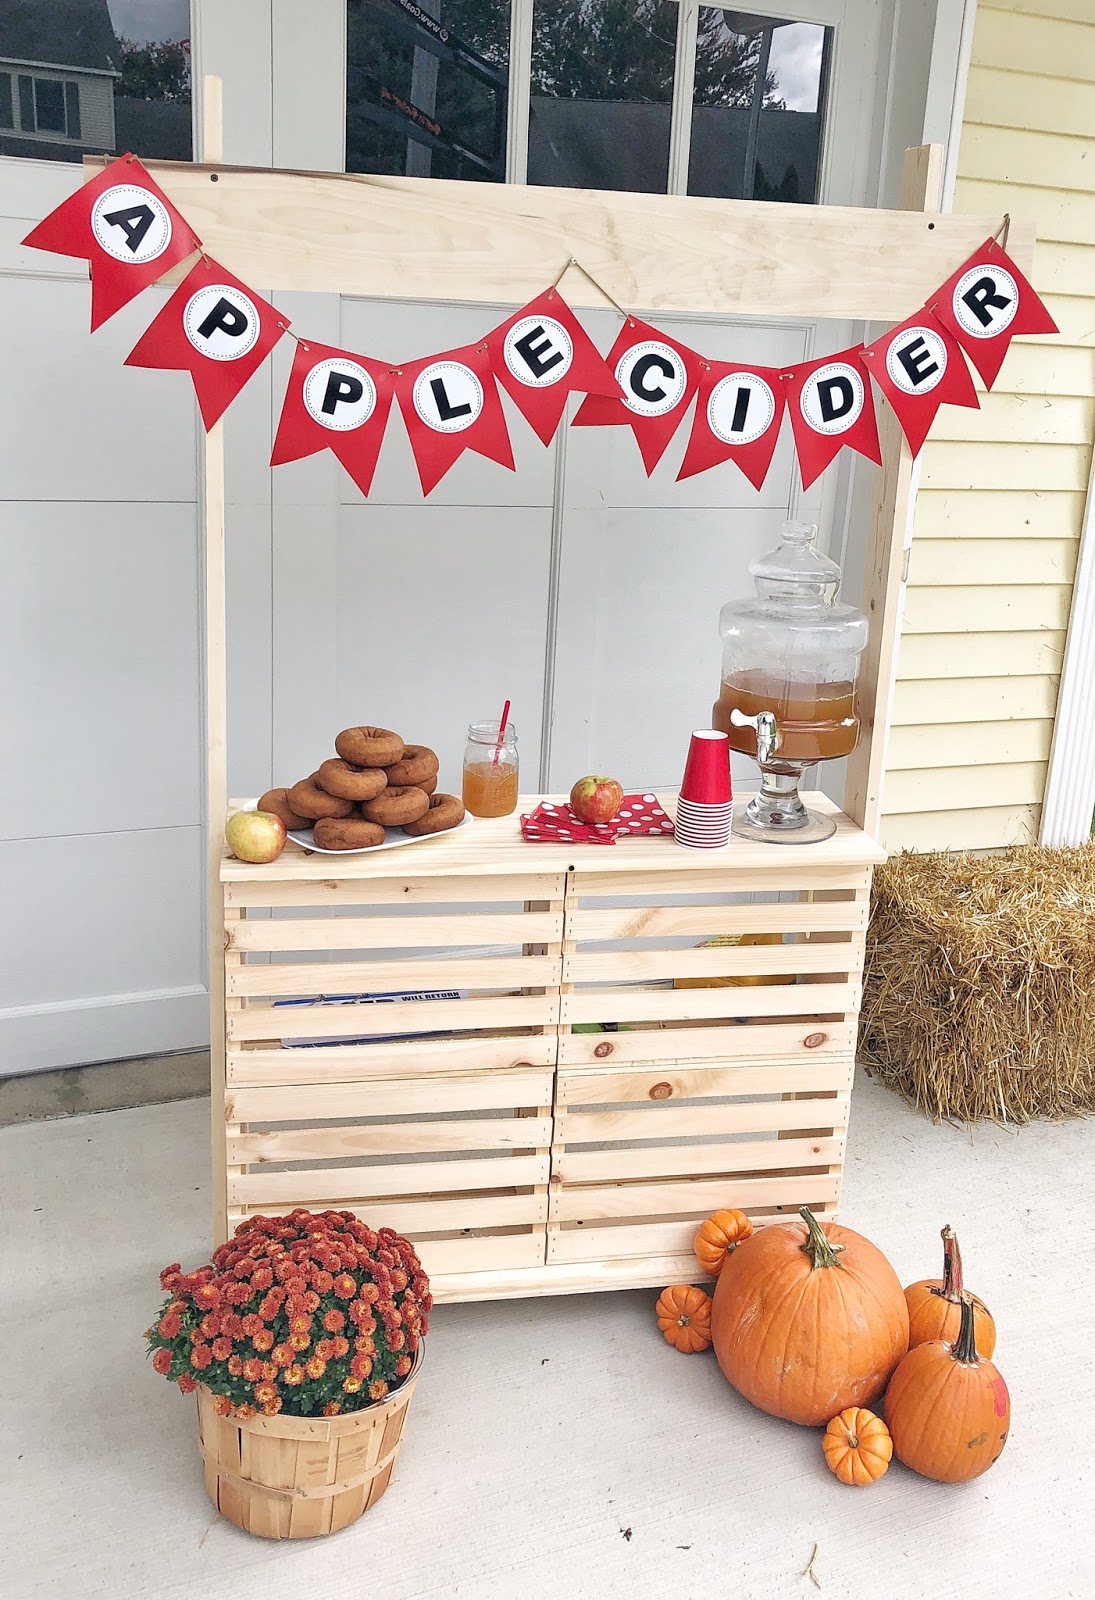
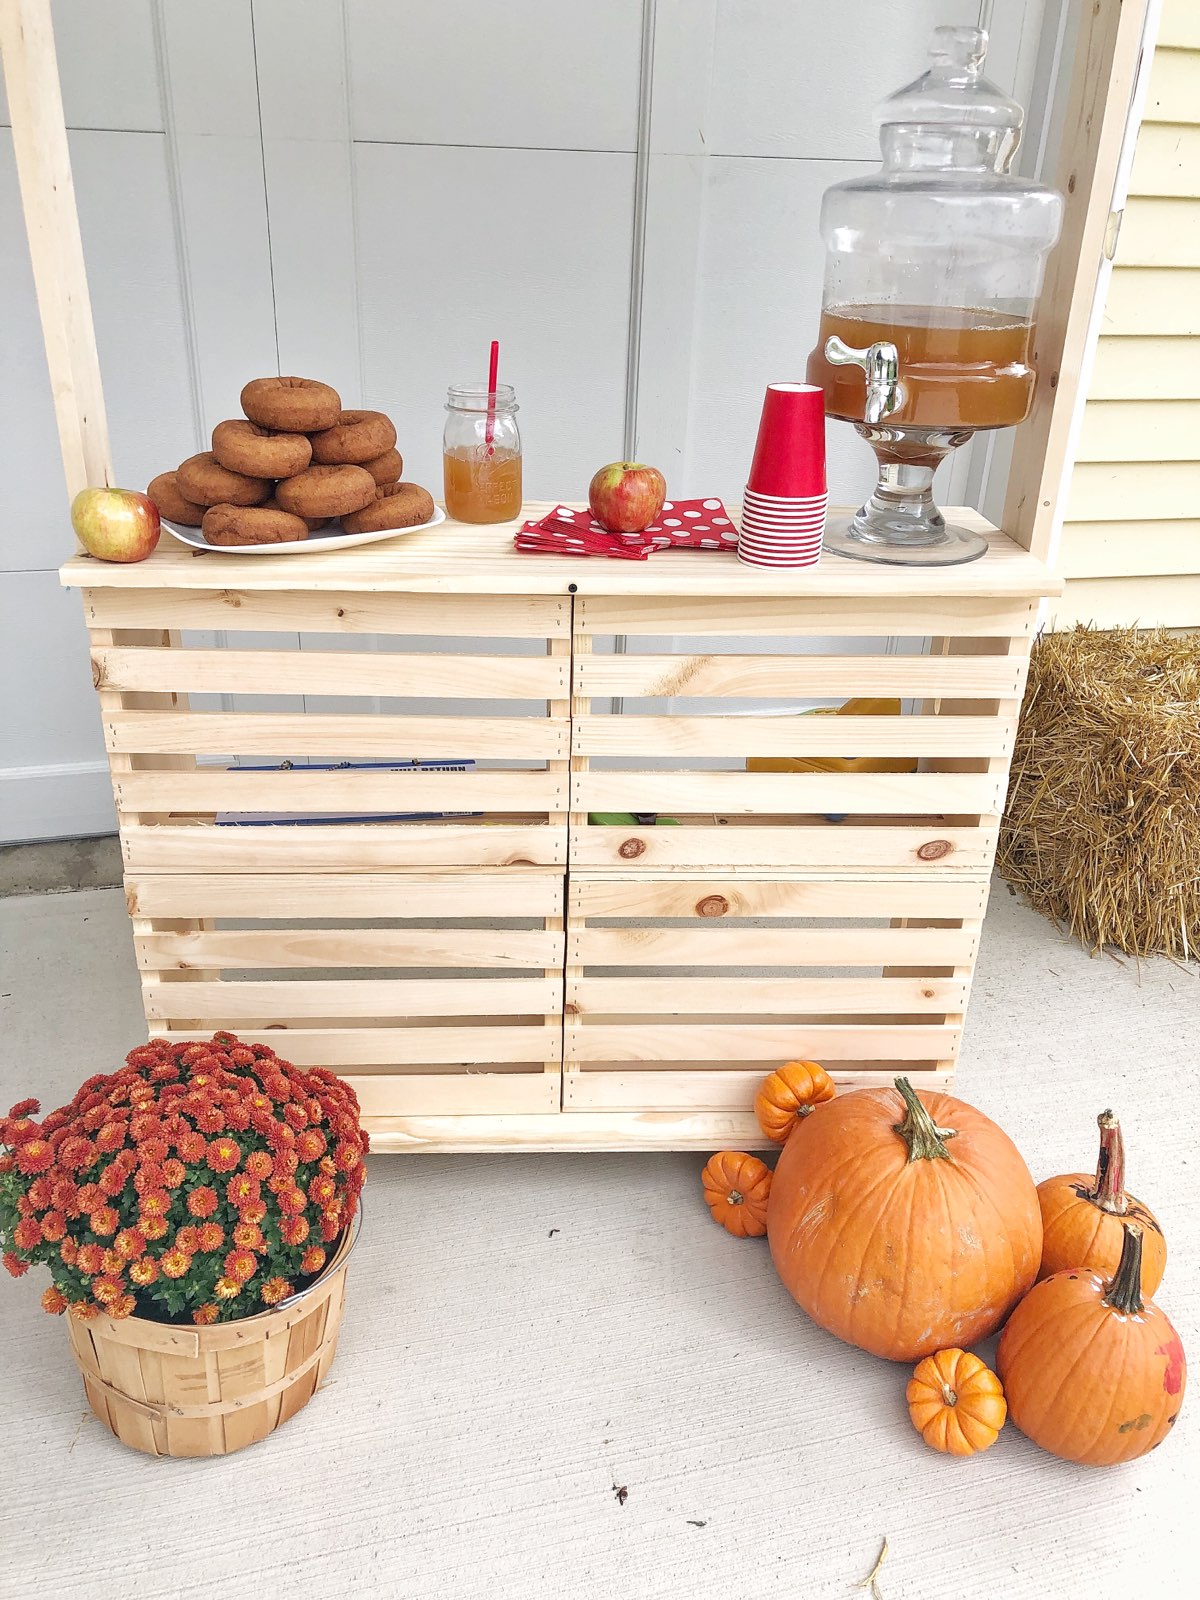
aaaaaand a little decor………………………..
Boom!
An Apple Cider Stand!
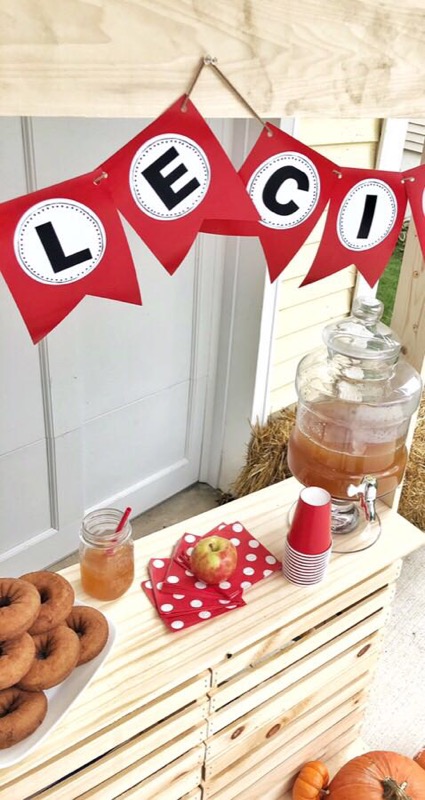


We’ll be hosting an apple cider stand on Saturday morning! I’ll be sure to share more pictures; we can’t wait!
I made the banner over on PicMonkey and I’d love to share with you how it was made. Let me know if you’re interested! 🙂
Thanks so much for stopping by, you guys! Happy all-things-fall!
Marie 🙂
I’m linking up with Danielle, Emily, Lindsay, Lizzie and Sierra for their link up, Girl Chat.
I’m also linking up over at the Pin Junkie Pin Party.
I’m linking up at with Sweet Parrish Place for Totally Terrific Tuesday.

