
Glider Chair DIY Makeover
Okay guys, I’ve got to share one more little project from my friend, Ashley’s Rustic Woodland Nursery! This one is all about the glider makeover.
Think of this post as the before and after glamour shots of a chair! Seriously, prepare yourself for a lot of pictures of a chair…and I mean a lot of pictures. The end result is like one of the TLC makeover shows, except this chair will be dressed up in paint…and slipcovers…sans jewelry. HA!
Anyway, when my friend Katy (my partner in crime for this nursery makeover) mentioned having me paint this glider, I’m not going to lie…I was actually pretty terrified. I mean, look at all those spindles and moving parts! But Ashley (the Mama) gave us the green light to do whatever we wanted to this chair as she was certain this third baby would be her last.
So off I went to purchase a couple cans of Annie Sloan Chalk Paint. I ended up purchasing one can of Pure White and one can of Old White. I wasn’t sure if I was going to combine the colors or not. Ultimately I decided to use only the Pure White.

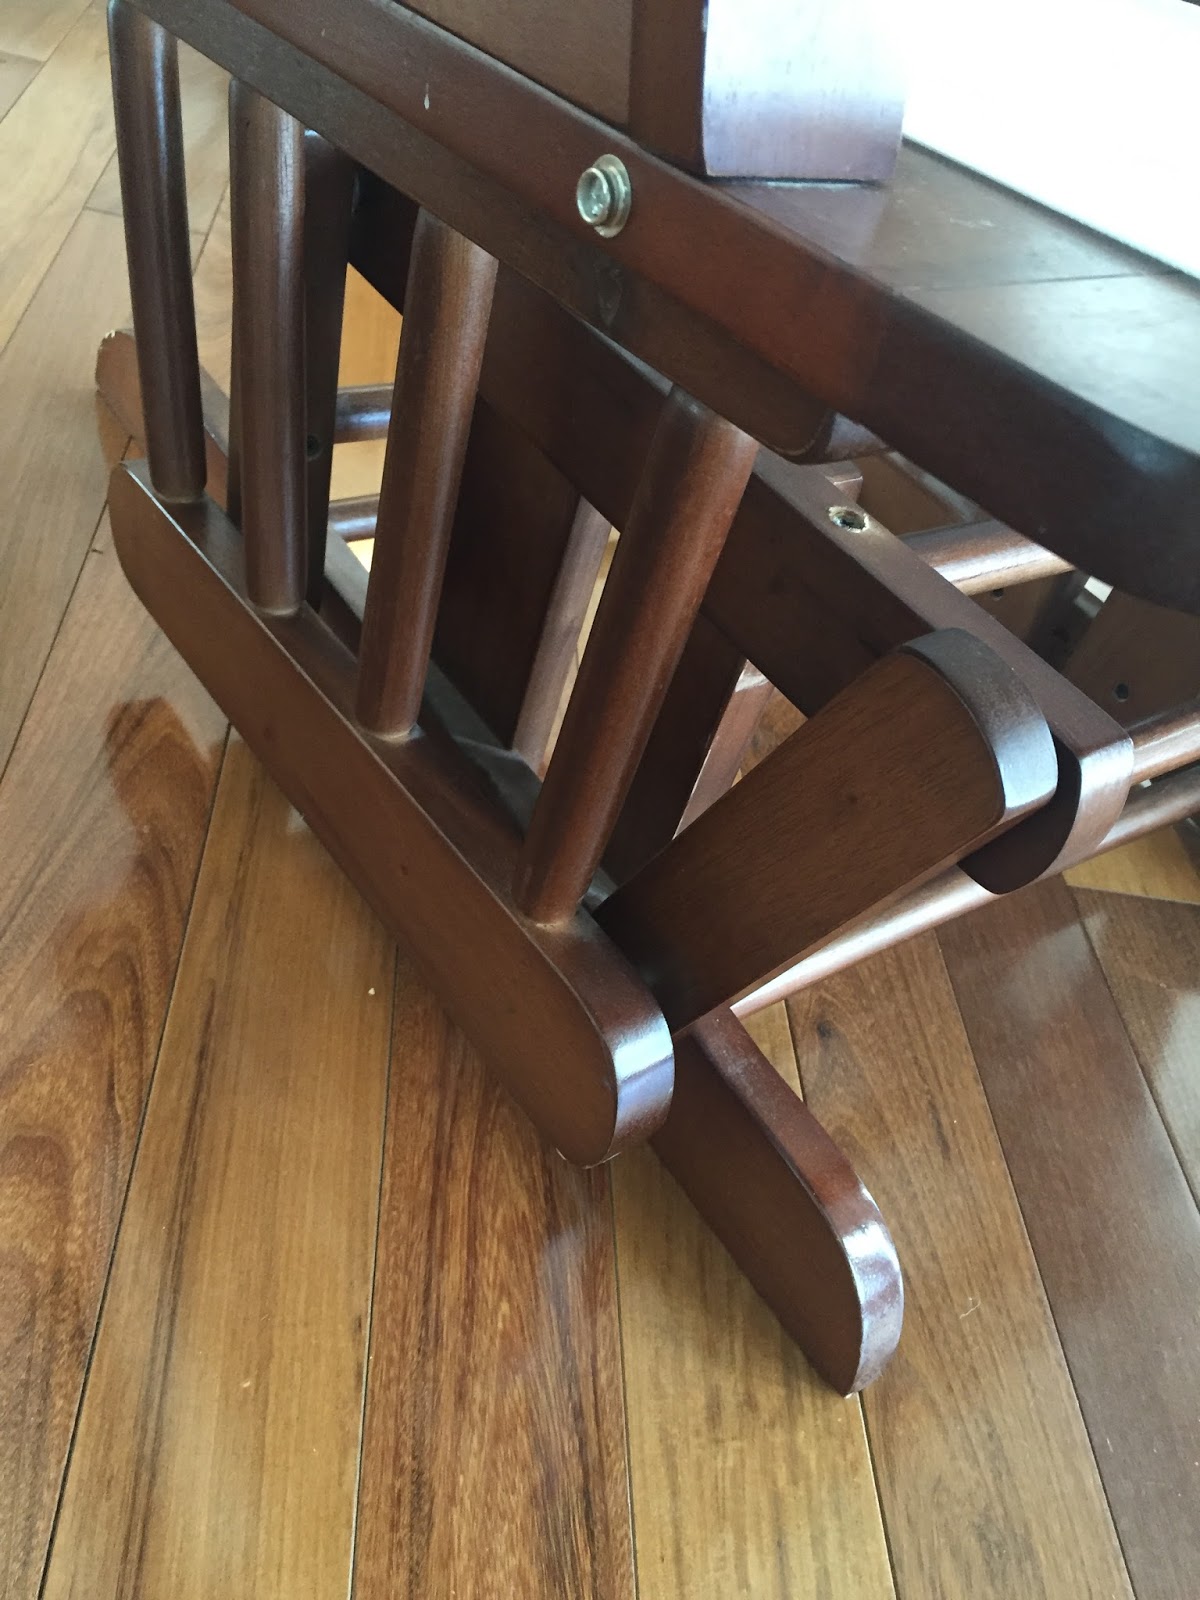
The first day I began to paint I ended up having a minor freak out (just as I figured I would) as I found all the spindles and moving parts to, indeed, be a tad overwhelming. I wasn’t sure if the glider was going to look right by using a brush as opposed to spray painting the entire chair (but the weather wasn’t cooperating, so brushing on the paint was my only option).
I sent a text to my friend Katy concerning my thoughts on the chair, and I kid you not, within minutes Katy and her hubby were at my front door. It was as if they were parked around the corner and awaiting my call! LOL!
Have mentioned how amazing these people are?!
Anyhoo, so they showed up to take a look at the chair and they both reassured me that it would turn out fine. I took their word for it and continued on painting.
I’m learning, people…I’m learning.
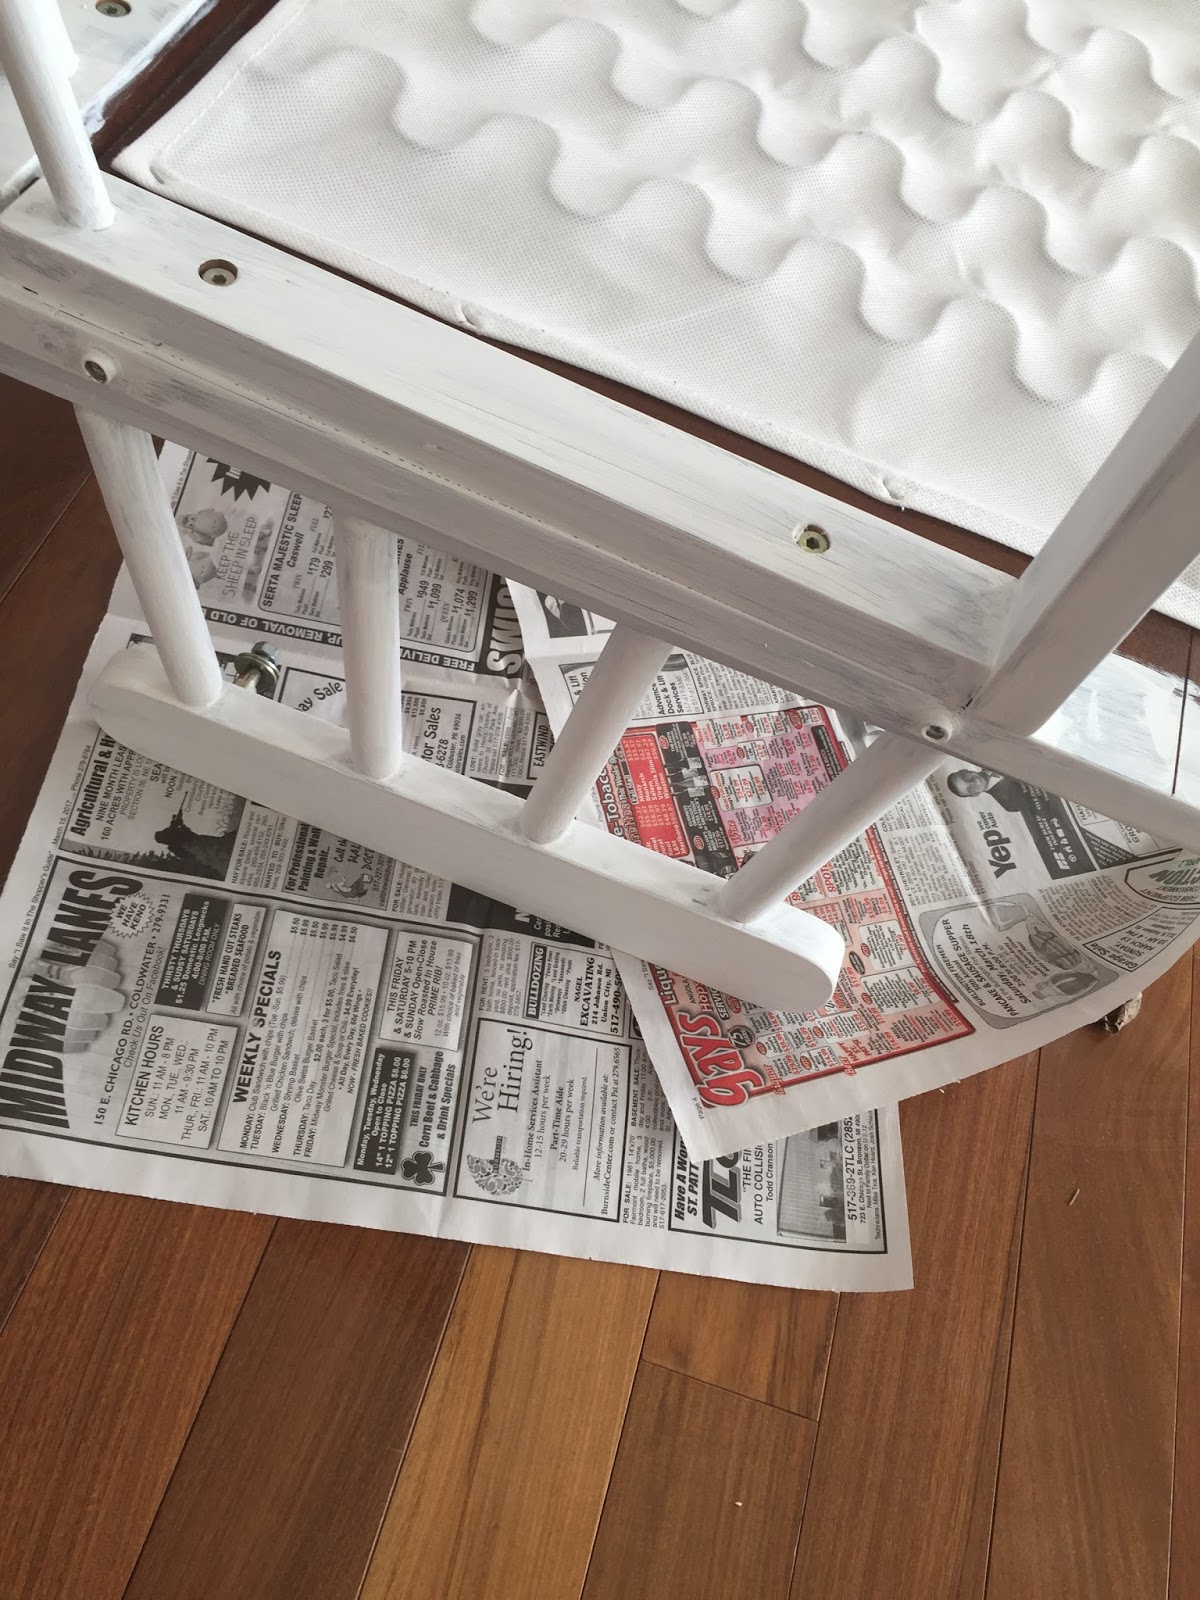
Also, you may be asking yourself, “Marie, did you paint that chair in your house and on your hardwood floors?”
Why…yes, yes I did.
It was too cold to go outside and I needed great lighting, which just so happens to be in my dining room/kitchen area. Knowing that I was painting in this spot also forced me to be extra careful not to get paint on my floors, which in turn helped make me not be sloppy while painting the piece itself.

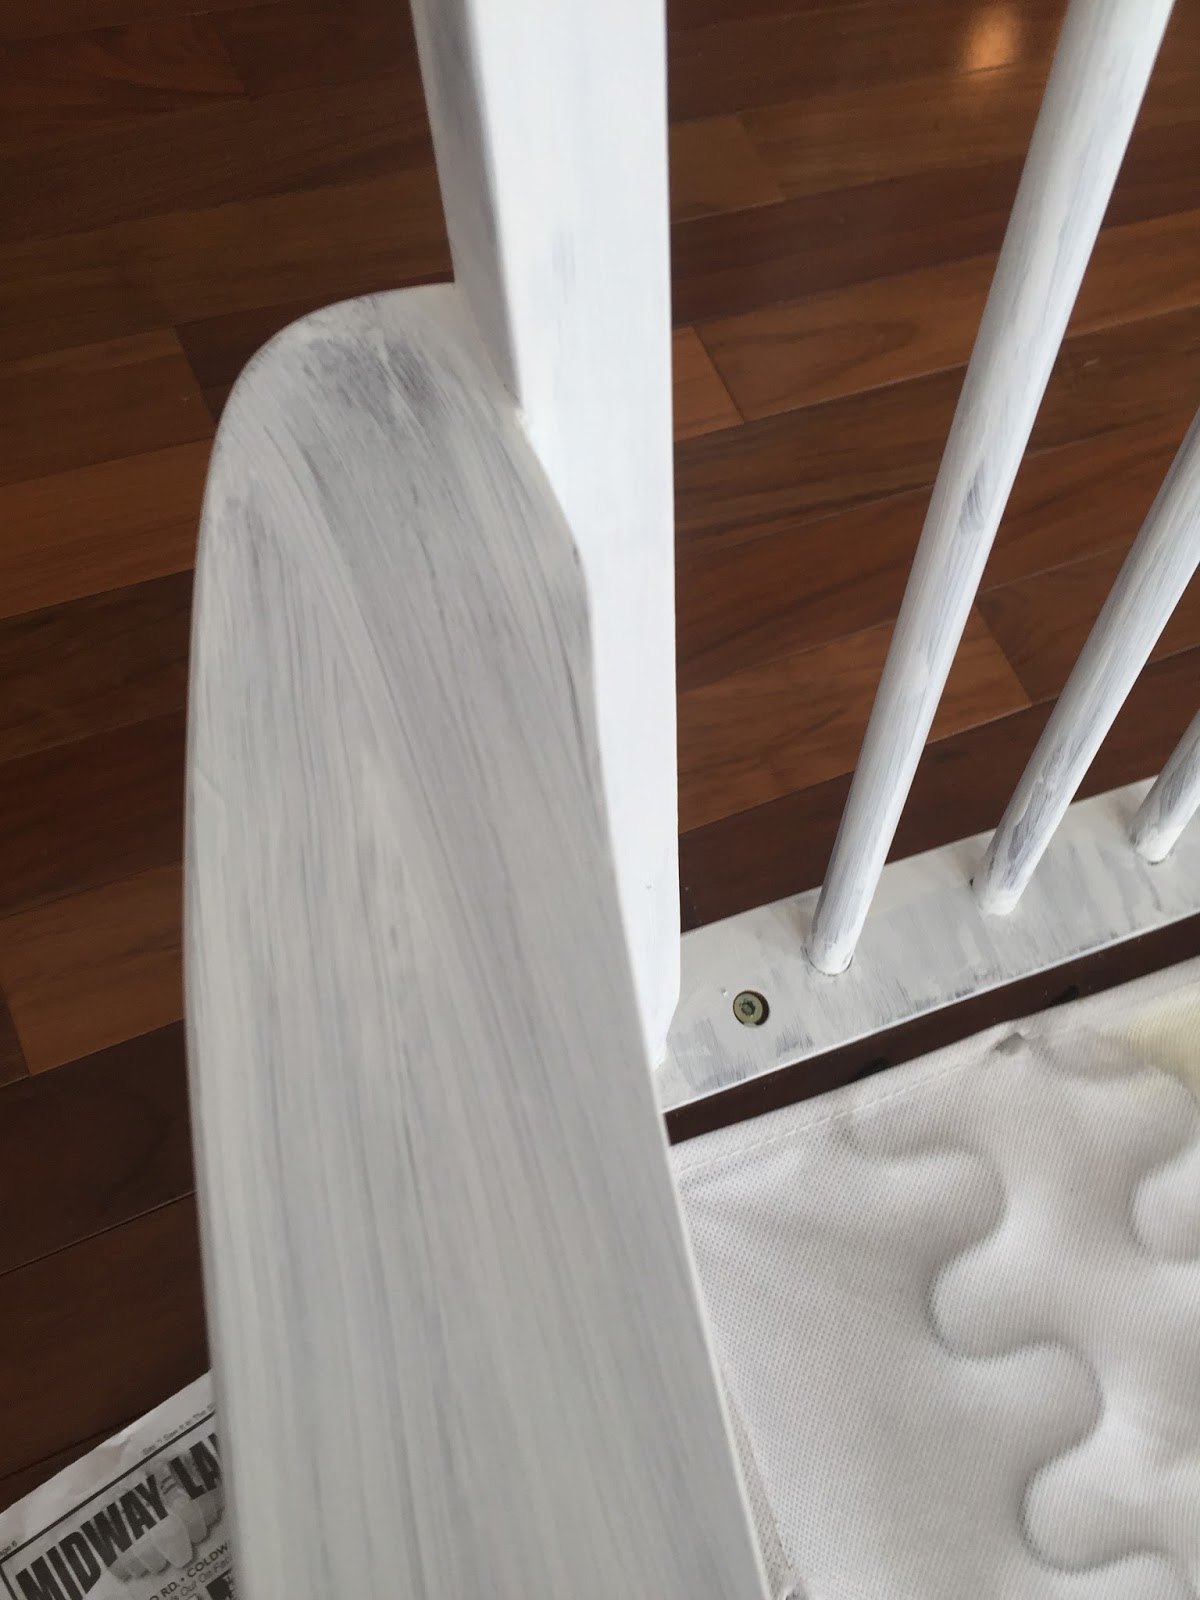
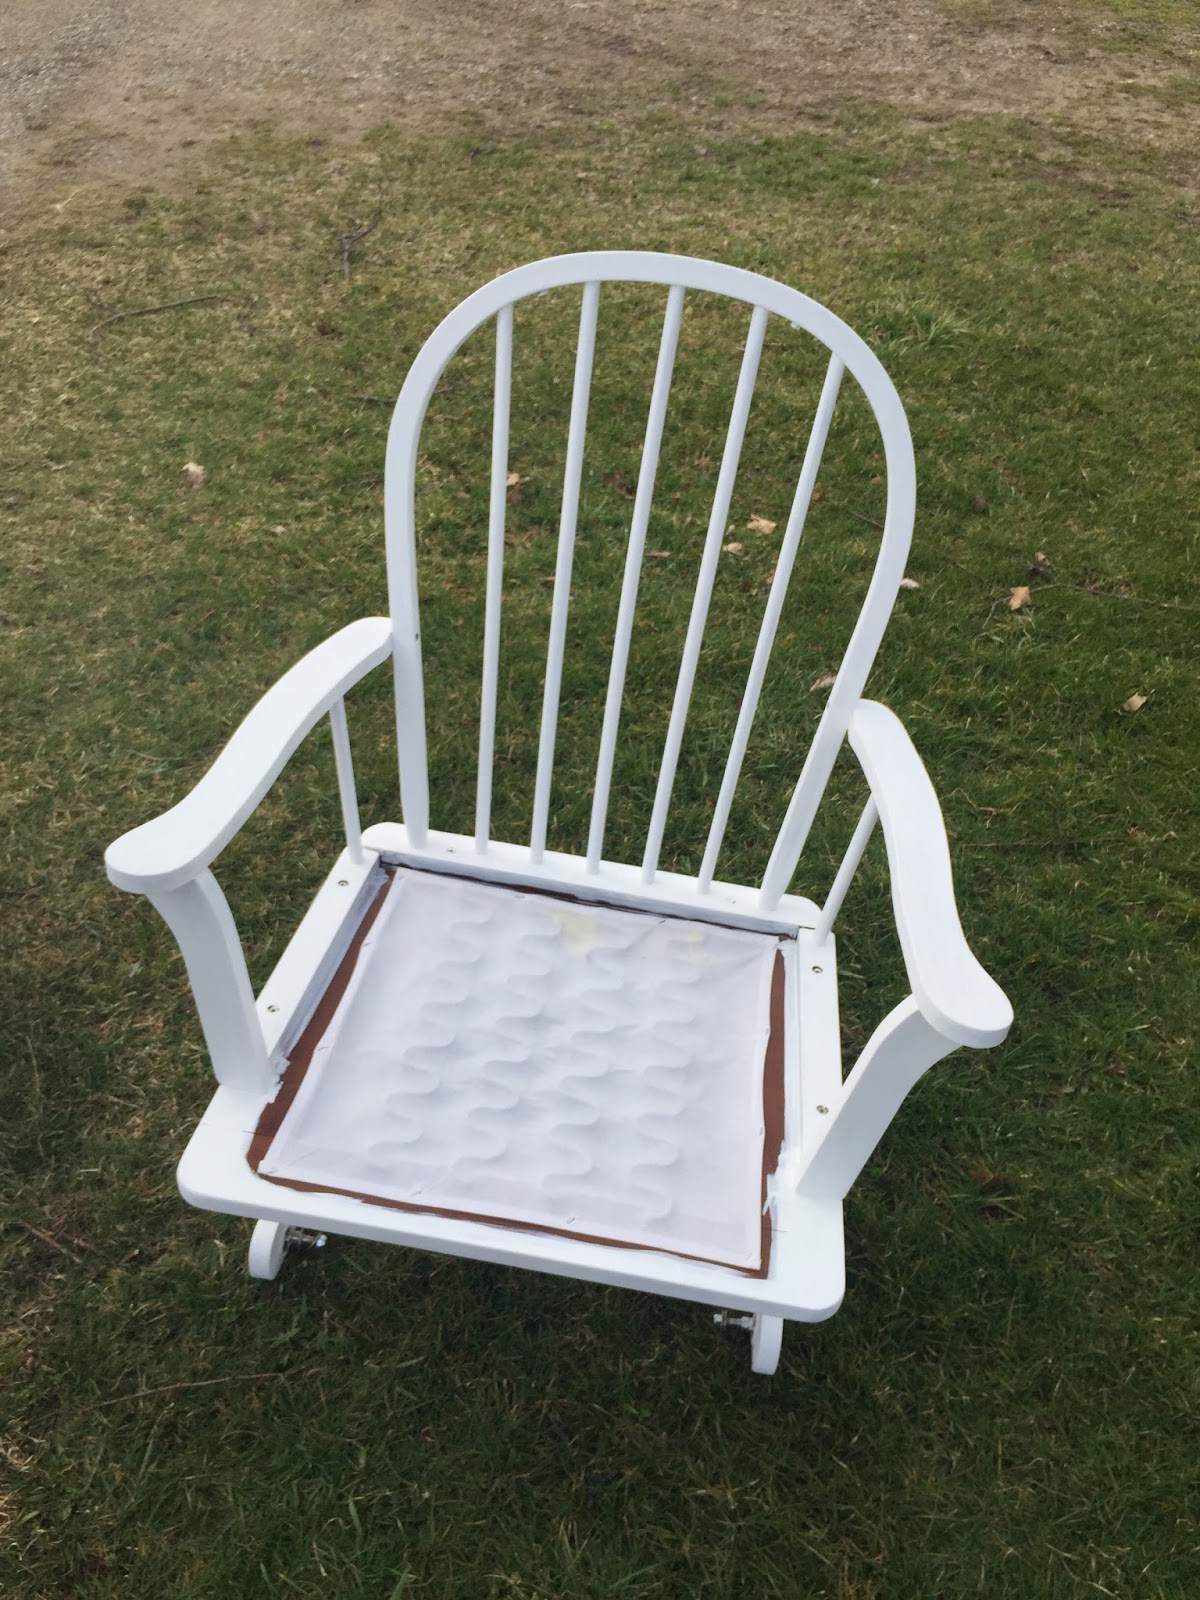
Okay, so…here’s the chair with only one coat…
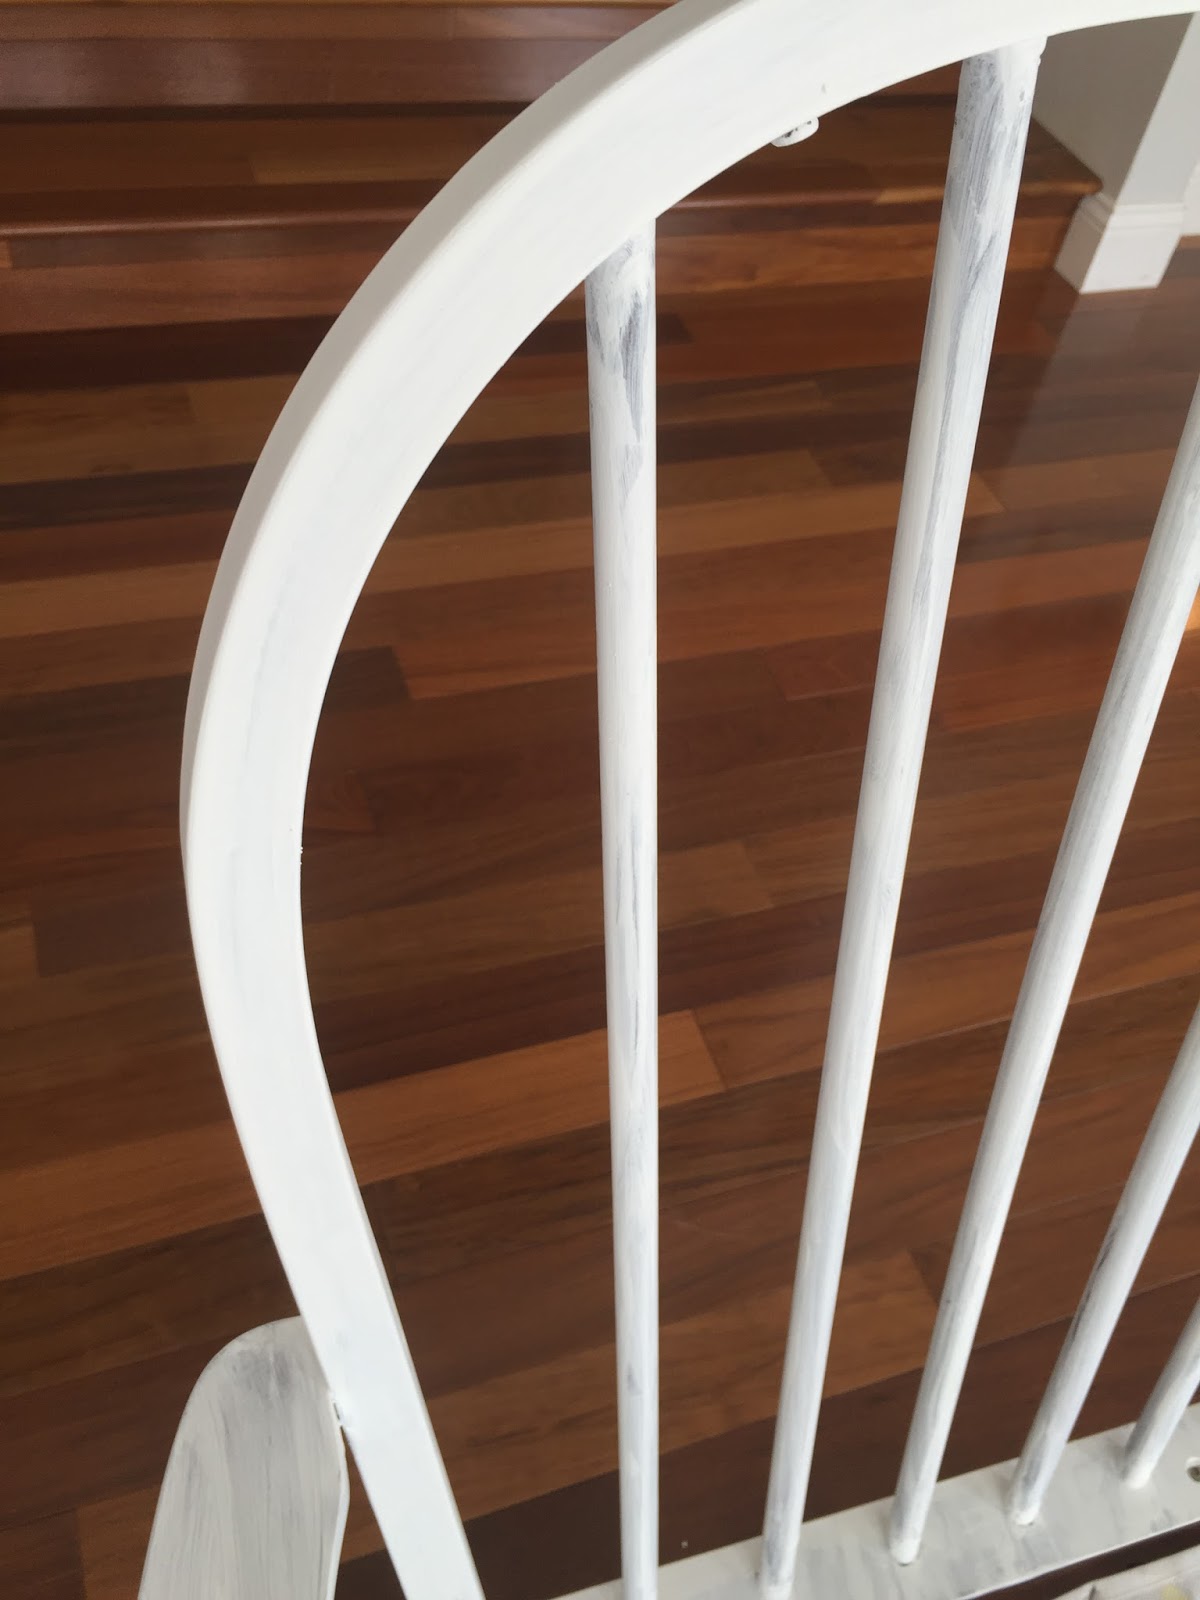
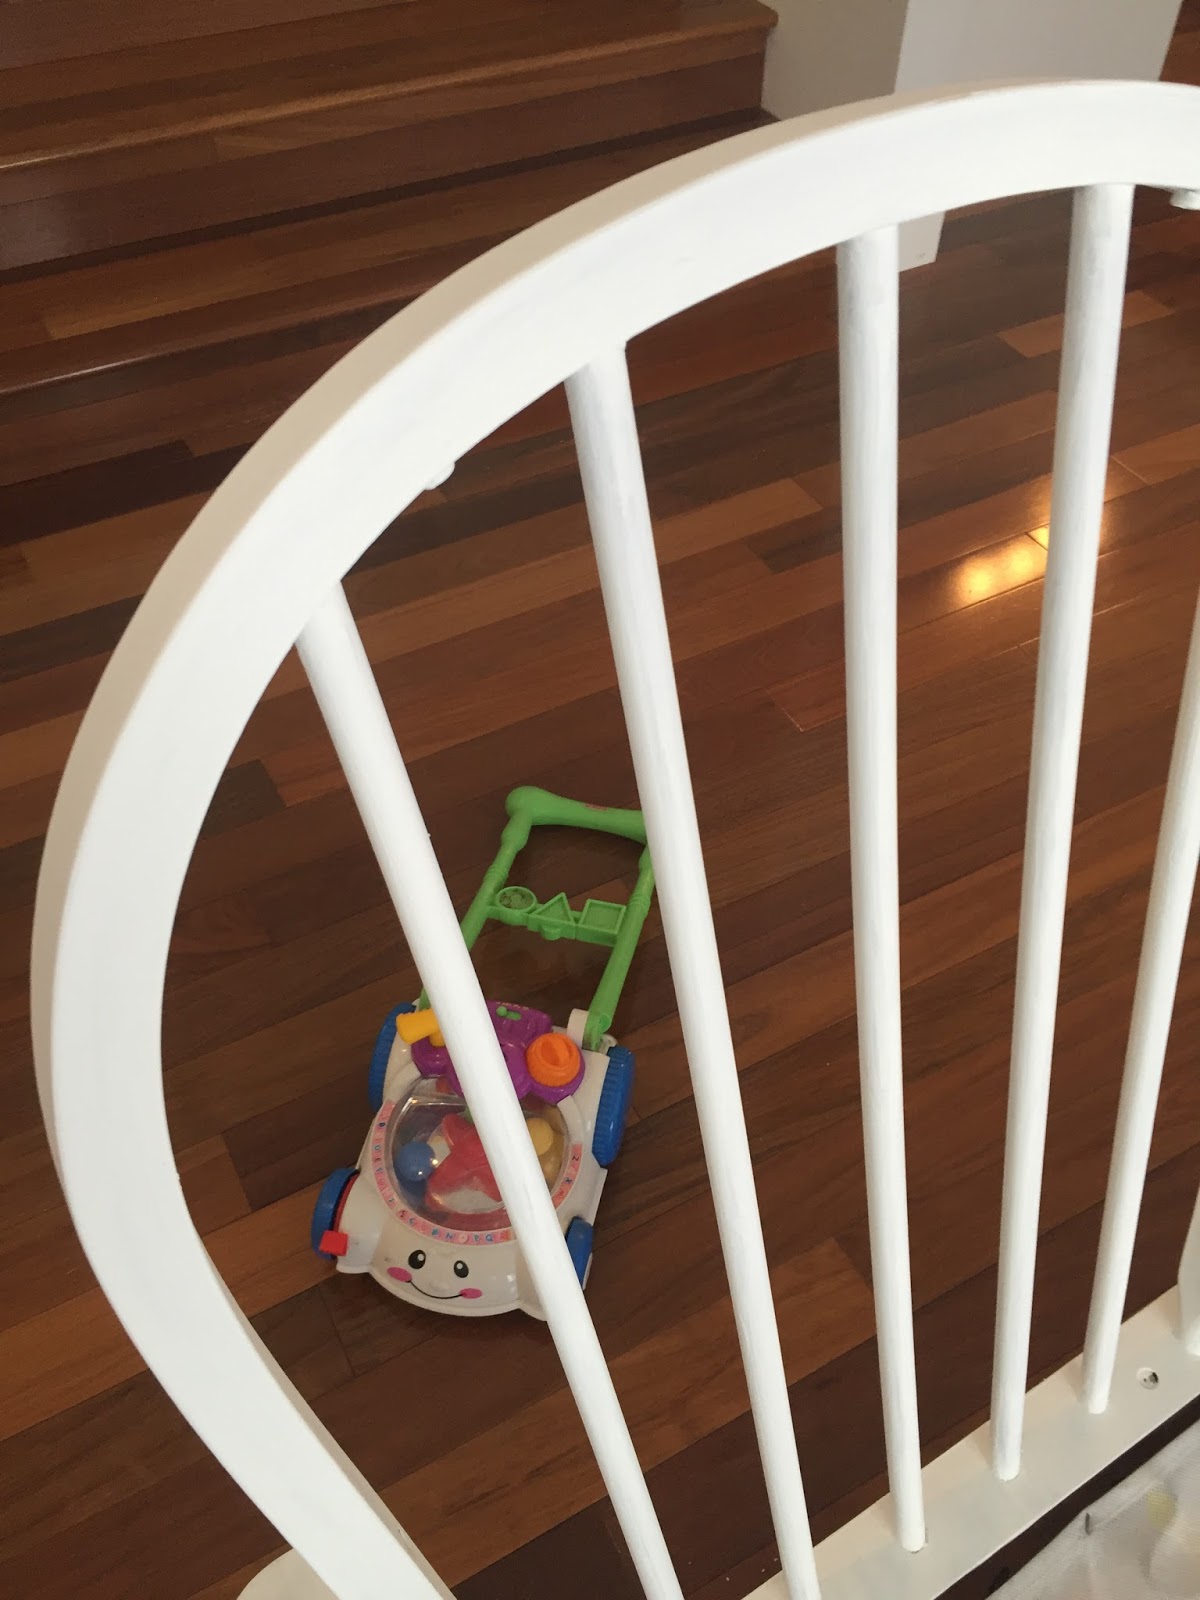
Here’s the chair after a second coat…and a lawn mower toy in the background…because kids…
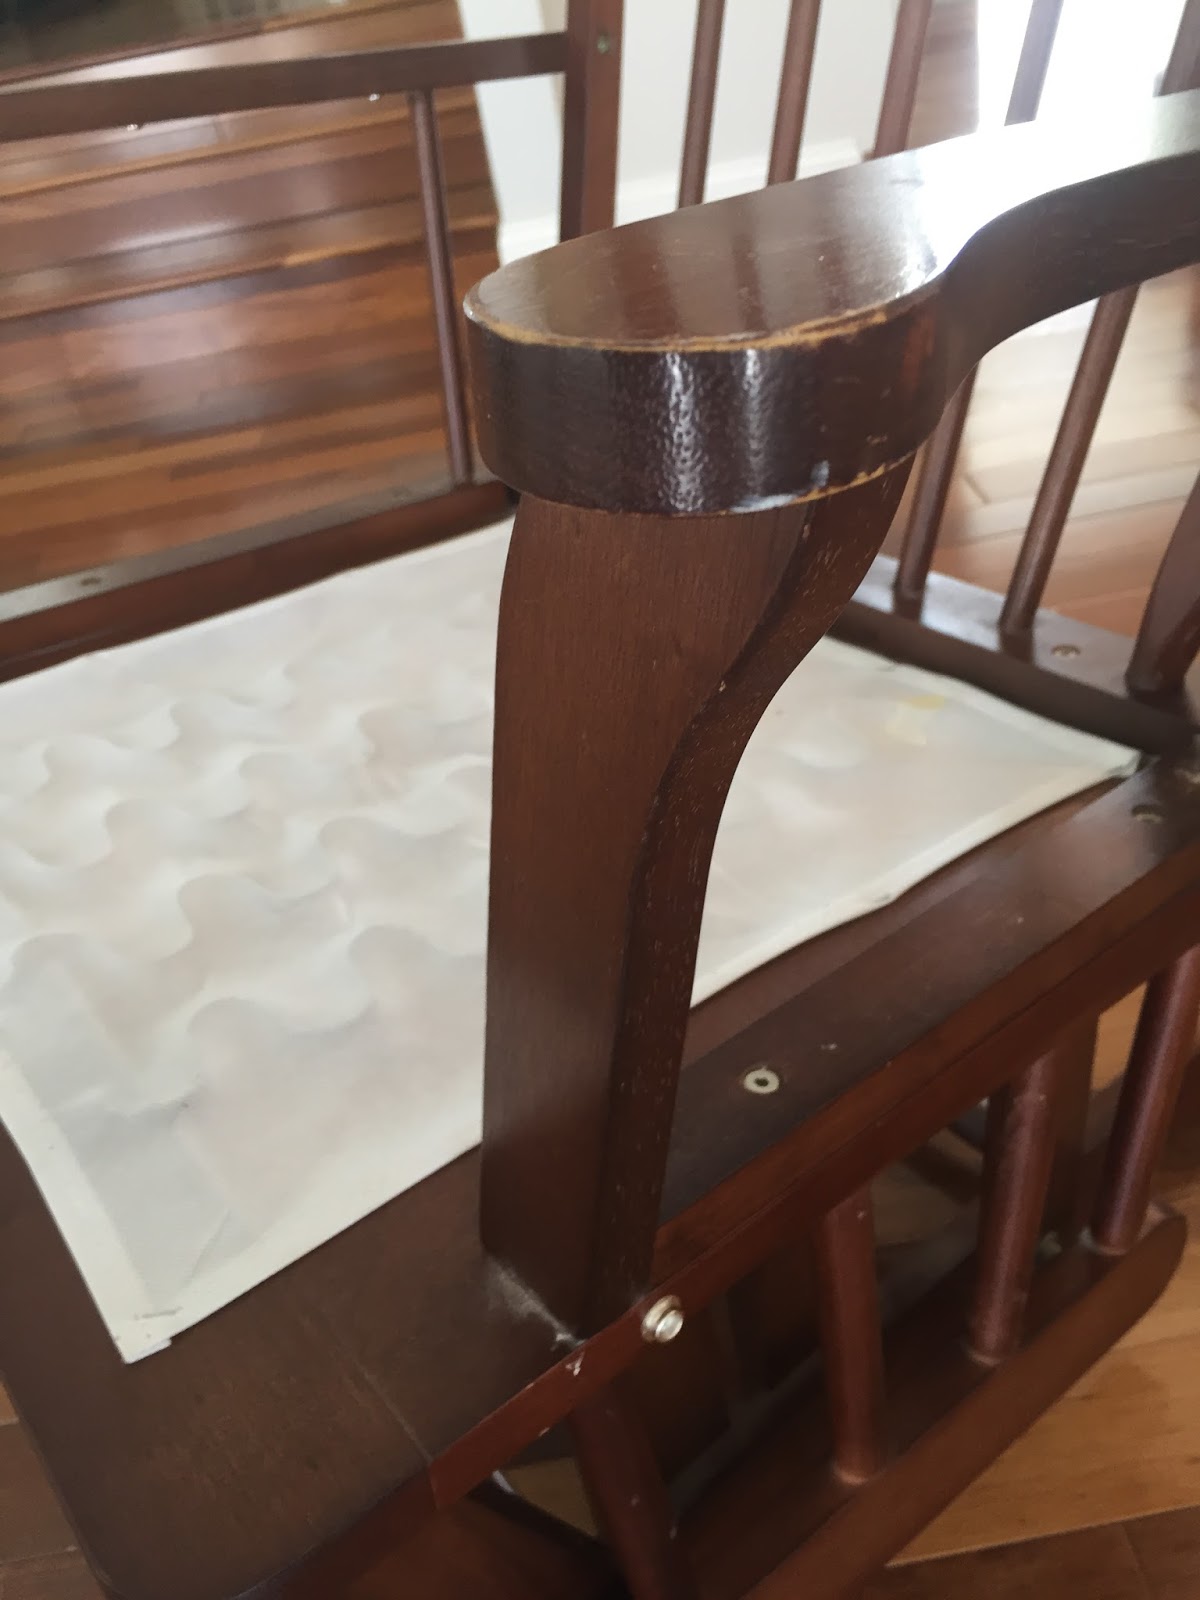
I tried to be sooooo careful with the arms of the glider!
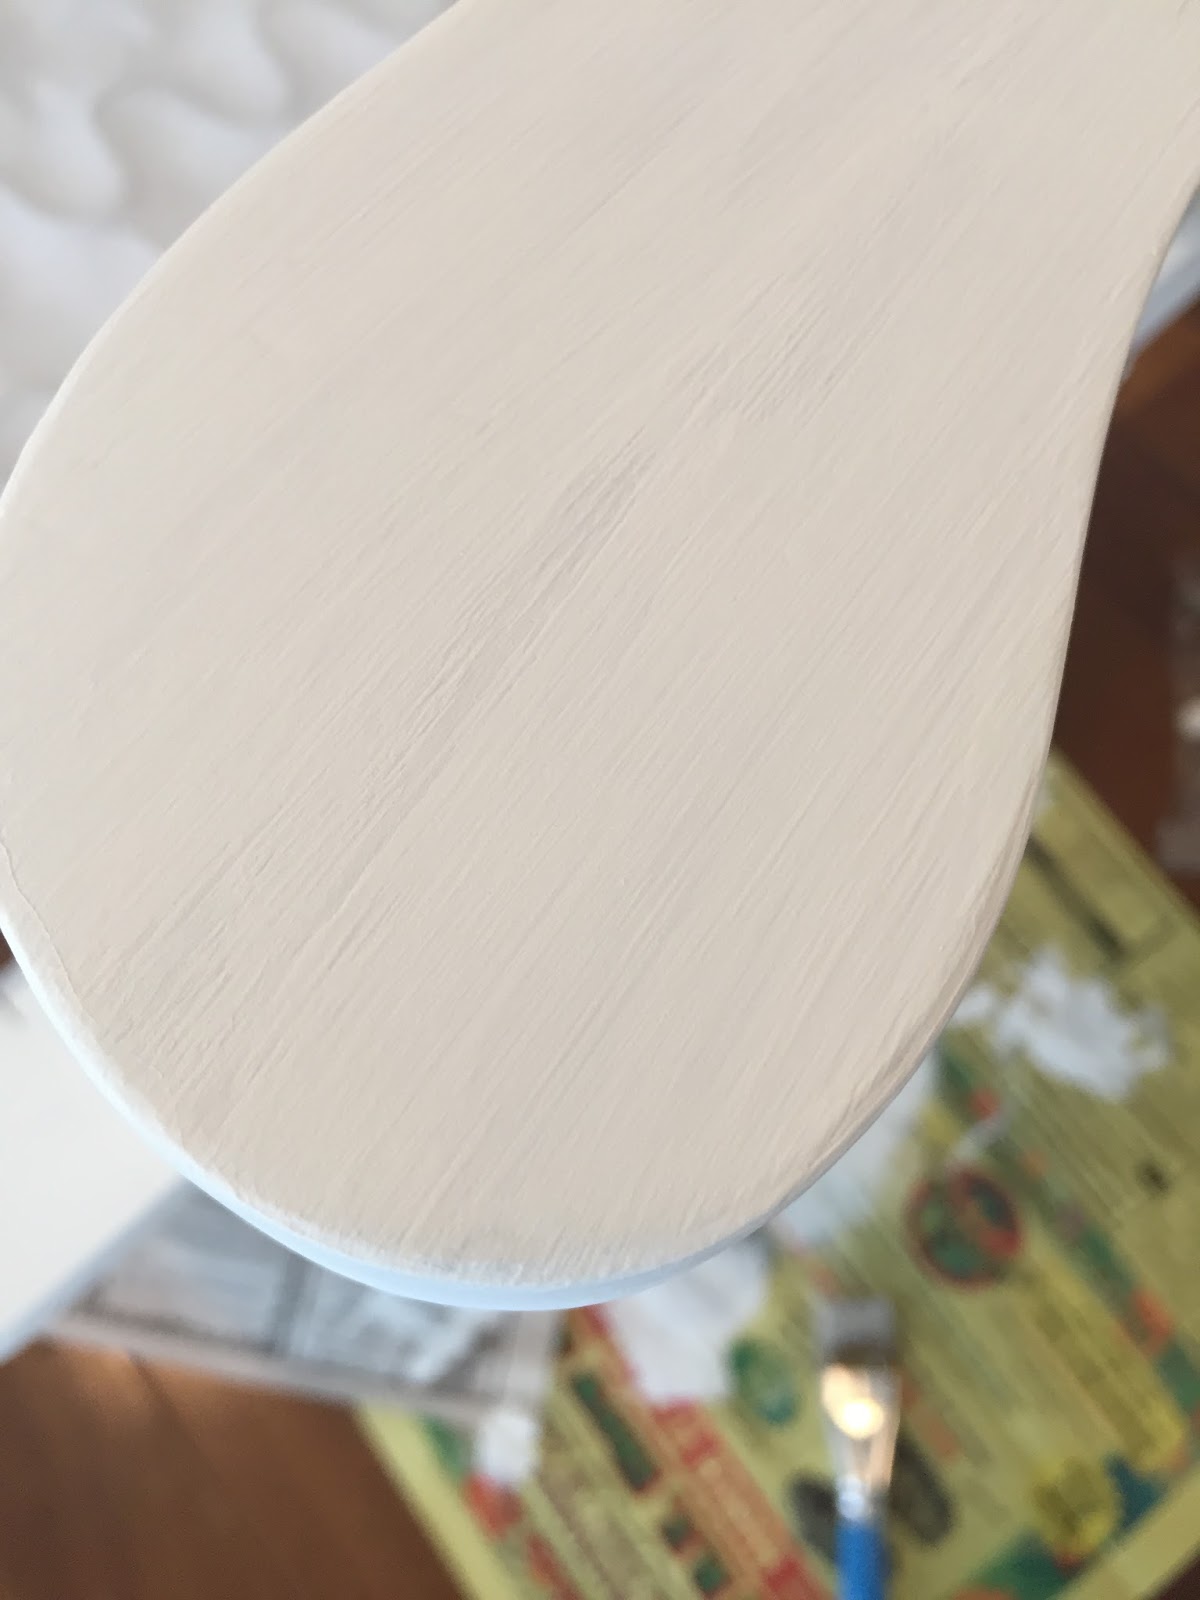
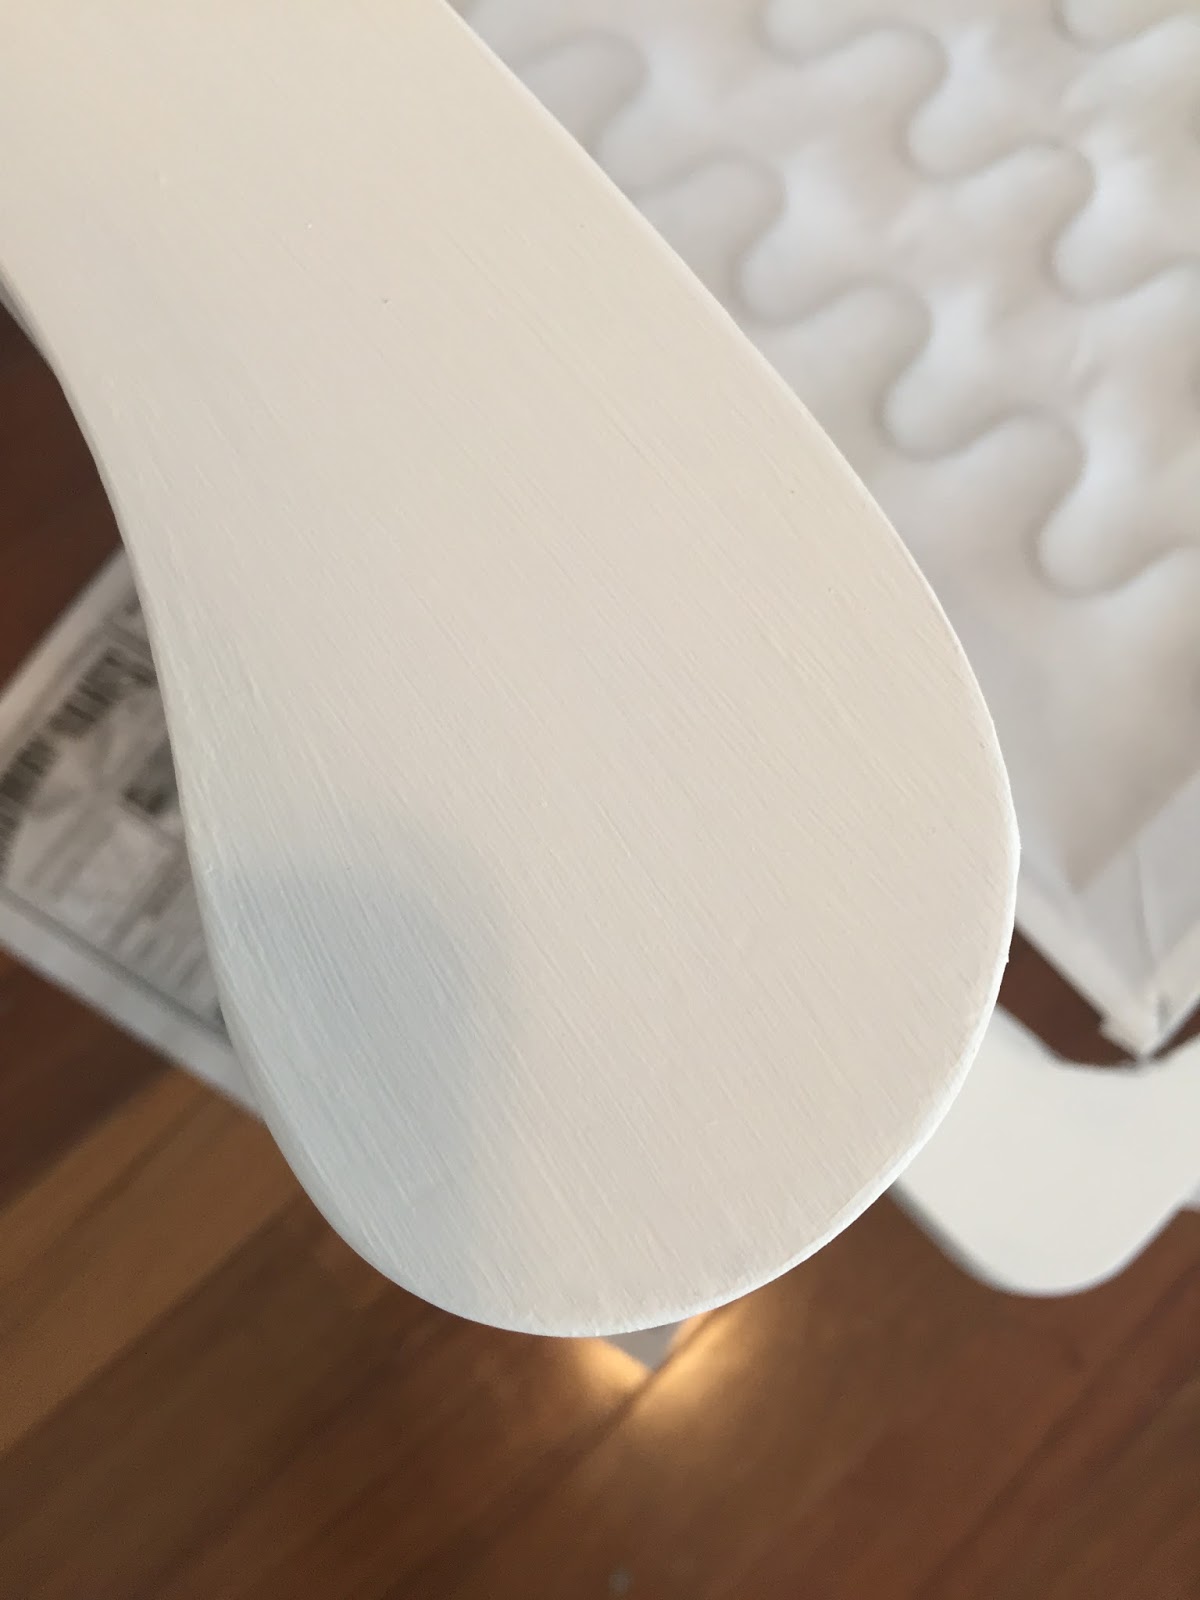
And finally a lightly brushed on third coat…

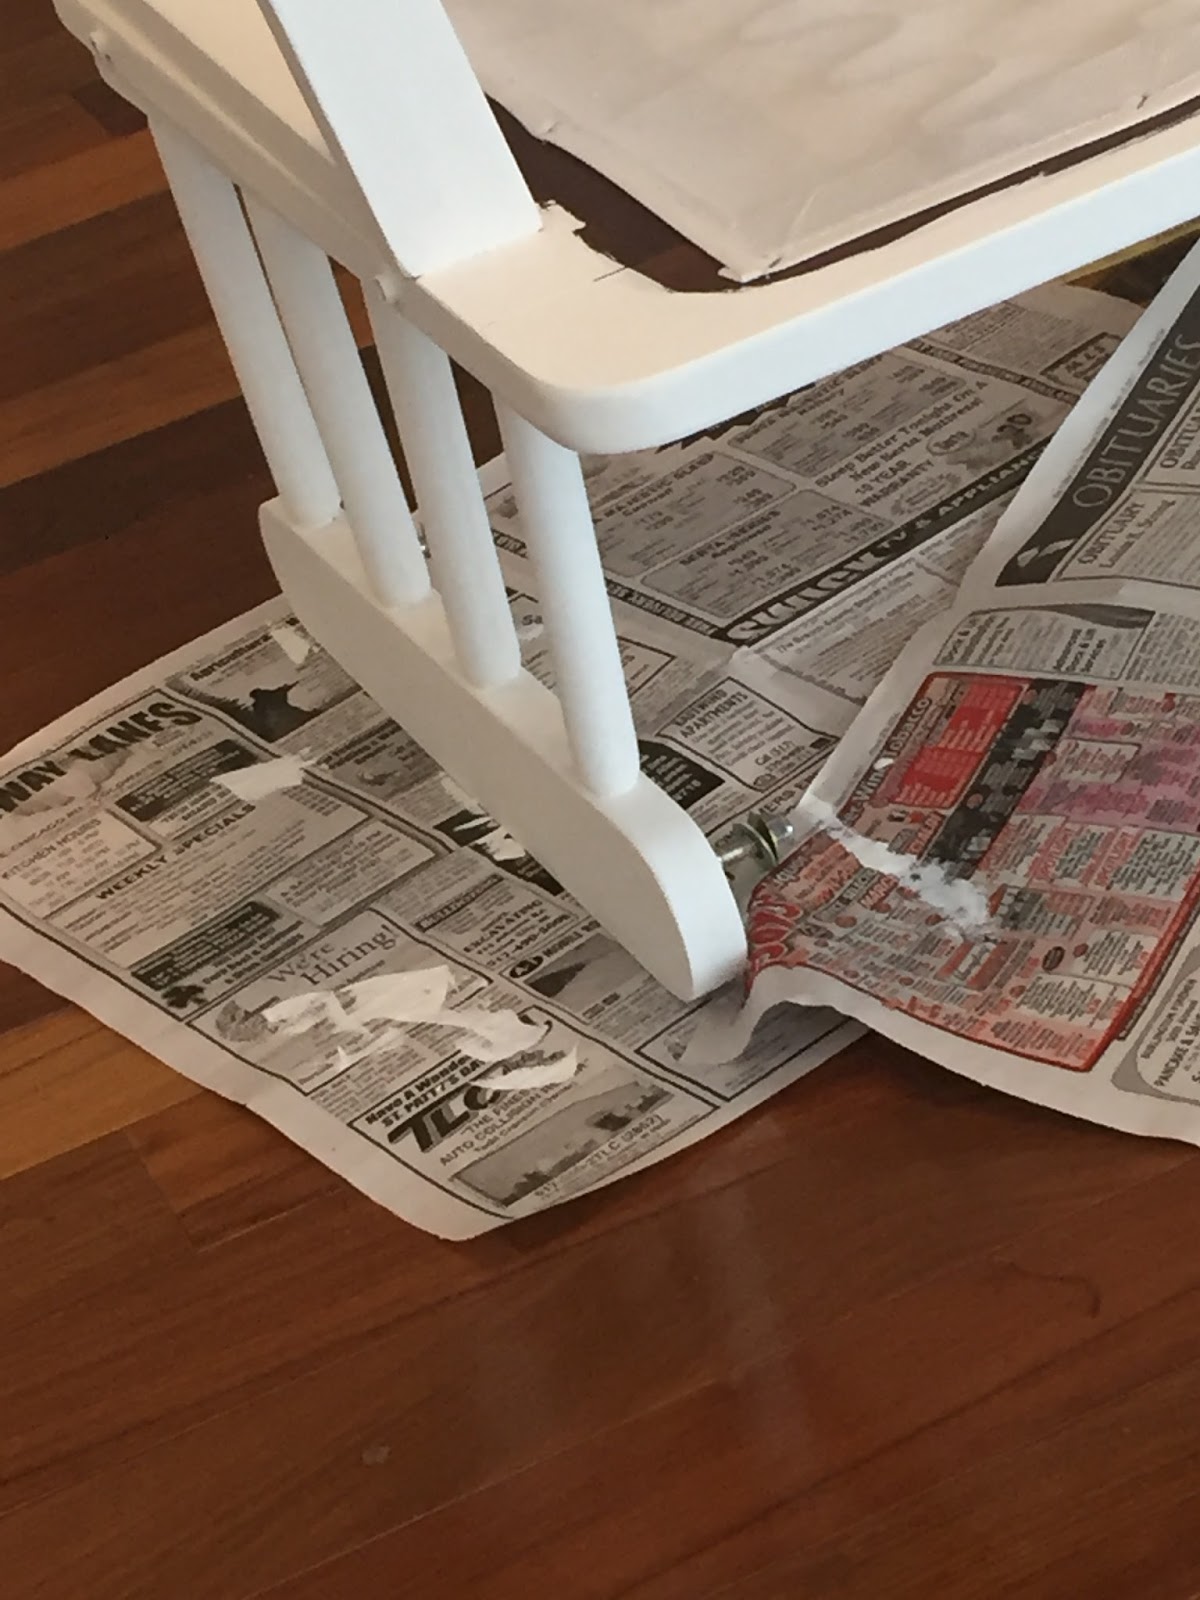
On the day of the reveal, Katy and I sprayed our painted furniture with a clear sealer. Being the newbie that I am to painting and sealing furniture, I accidentally made a little pool of spray paint sealer on one of the meticulously painted arms. We didn’t have any rags on hand, so we found some toilet paper and then I attempted to carefully remove the little pool of sealer off the arm, but little pieces of toilet paper started to attach themselves to the arm.
*facepalm*
Okay, so then I had another minor freak out, but we eventually fixed it. Thank goodness!
Oh my word. I tell ya’- the mini heart attacks I have while doing projects…geesh.
We then let the furniture seal and dry outside for the recommended ten minutes and then moved them inside the house before the family pulled in the driveway!
Once inside, we finished decorating the room, reassembled the chair and Katy attached all the slipcovered cushions.
The glider looked great!

We loved how the glider turned out!
A little bit of paint and a bit of material sure can change the look of a piece of furniture, eh!?
What do you think?! I’d love to hear your feedback!

Thanks so much for joining me on this little DIY journey.
Thanks for reading. 🙂
Good luck, friends!!
Marie 🙂

Thank you!